- Understanding Excel to Google Sheets Conversion
- The Excel to Google Sheets Conversion Requirements
- How to Convert Excel to Google Sheets Using Google Drive?
- How to Convert Excel to Google Sheets?
- Batch Excel to Google Sheets Conversion: Tools and Options for Multiple Files
- How to Handle Common Google Sheets Formatting Issues?
- Best Practices for Maintaining Data Integrity After Conversion
- Troubleshooting Common Google Sheets Conversion Problems
- Conclusion
Are you looking for an easy way to convert your Excel files to Google Sheets? Whether you’re switching to a cloud-based tool for better collaboration or just want to take advantage of Google Sheets’ features, the process is simple and effective. In this guide, we’ll walk you through everything you need to know, from uploading your Excel file to Google Drive and ensuring your formatting and formulas stay intact, to exploring some advanced options for batch conversions. You’ll also find tips on how to handle common issues and make the most of your converted file, so you can work efficiently and without hassle.
Understanding Excel to Google Sheets Conversion
Converting Excel files to Google Sheets offers several advantages, especially when moving to a cloud-based, collaborative platform. However, understanding the core reasons for making this switch and the benefits it provides can help ensure you make the most of the conversion process.
Importance of Converting Excel Files to Google Sheets
- Cloud-based Collaboration: Moving from Excel to Google Sheets enables real-time collaboration among team members across different locations. You no longer need to worry about emailing back-and-forth or managing different file versions.
- Access Anywhere: Google Sheets is cloud-based, meaning your documents are always accessible from any device with an internet connection, making it more versatile than Excel’s local file storage.
- Seamless Sharing: Sharing a Google Sheets file is as simple as a click of a button, with the ability to control permissions like view, comment, or edit. This eliminates the need for complicated file sharing or version management.
- Automatic Backup: Google Sheets automatically saves changes in real time, ensuring that you never lose your work. You won’t have to worry about manually saving versions or losing unsaved progress.
- Integrations with Other Google Tools: Google Sheets integrates seamlessly with other Google Workspace apps like Google Forms, Google Docs, and Google Data Studio, enhancing productivity and offering robust data manipulation options.
Benefits of Using Google Sheets Over Excel
- Cost-effective: Google Sheets is free to use with a Google account, whereas Excel is part of Microsoft Office, which may require a paid subscription.
- Unlimited Storage: With Google Sheets, you get storage directly tied to your Google Drive account, offering a flexible amount of space without the limitations of Excel’s local file storage.
- Real-time Updates and Collaboration: With Google Sheets, you and your team can work on the same document simultaneously, seeing live changes and updates without needing to send files back and forth.
- Version History: Google Sheets keeps a detailed version history, allowing you to revert to previous versions of your file whenever necessary, which is something Excel doesn’t always handle as smoothly.
- Cross-platform Compatibility: Google Sheets works in any web browser, and apps are available for both Android and iOS devices, ensuring compatibility across platforms, unlike Excel, which typically requires Microsoft software.
The Excel to Google Sheets Conversion Process
The process of converting an Excel file to Google Sheets is fairly straightforward, but there are some things you’ll need to keep in mind to ensure that all data, formulas, and formatting are retained.
- Upload the Excel File to Google Drive: The first step is uploading your Excel file to Google Drive, which can be done easily by dragging the file into the Google Drive interface or using the ‘File Upload’ option.
- Open the Excel File with Google Sheets: Once the file is in your Google Drive, you’ll need to open it with Google Sheets. You can do this by right-clicking the file and selecting “Open with Google Sheets.”
- Save the File as Google Sheets: After the file is open, you’ll need to save it in Google Sheets format. This is done through the “Save as Google Sheets” option, which converts your file into a fully editable Google Sheets document.
- Check for Formatting and Formula Issues: It’s important to review the conversion once completed. While Google Sheets does a good job of retaining data and formatting, there may be minor discrepancies, especially with complex Excel features like charts or advanced formulas. Make sure to double-check everything after conversion.
- Finalize the Document: Once you’ve reviewed the document for any issues, you can begin using Google Sheets for collaboration, sharing, or further analysis.
The Excel to Google Sheets Conversion Requirements
When it comes to converting Excel files to Google Sheets, it’s essential to know the types of files that are supported and the potential challenges that can arise during the conversion process. Understanding these requirements can help you manage your expectations and avoid any unpleasant surprises when you try to open and work with your data in Google Sheets.
File Types Supported for Conversion
Google Sheets supports a wide range of file formats, but when dealing with Excel, there are a few specific ones that you should keep in mind:
- XLSX (Excel Open XML Format): This is the most commonly used format for modern Excel files and is fully supported by Google Sheets. You can upload and open XLSX files directly into Google Sheets without any trouble. This format retains most of the data and formatting, so it’s a safe bet for most users.
- XLS (Excel Binary File Format): This is the older Excel format and while it’s supported by Google Sheets, there can sometimes be minor compatibility issues, especially with newer Excel features. However, Google Sheets still handles XLS files fairly well, so it’s not a major concern in most cases.
- CSV (Comma Separated Values): While CSV files are not exclusive to Excel, they are often used for exporting and saving data from spreadsheets. Google Sheets supports CSV files, but keep in mind that they don’t retain any complex formatting, formulas, or multi-sheet structures. When importing CSV files, only the raw data will be preserved, and you’ll need to manually recreate things like formulas, charts, and formatting.
- ODS (OpenDocument Spreadsheet): This format is supported by Google Sheets as well. If you’re working with open-source spreadsheet software like OpenOffice or LibreOffice, you’ll likely be using ODS files. Google Sheets handles these files without much trouble, but again, it’s essential to double-check formulas and formatting once imported.
- Other File Formats: Google Sheets also supports other formats like TXT, HTML, and TSV, but these are not as commonly used for spreadsheet data and may require more cleanup after conversion.
It’s important to note that even though Google Sheets supports these file types, certain features in Excel may not translate perfectly into Google Sheets. Things like advanced Excel macros, VBA code, or complex Excel-specific functions might not work as expected.
Considerations for Formatting, Formulas, and Data Integrity
While the file format is essential to know, understanding how your data will behave after conversion is just as important. Not all Excel formatting and features will carry over smoothly into Google Sheets, so here’s what you need to keep in mind to ensure your data remains intact:
- Formulas: Google Sheets supports most of Excel’s core functions, but there are some differences when it comes to more complex or advanced formulas. For instance, if your Excel file uses specific functions like
VLOOKUP,IFERROR, orINDEX/MATCH, you’ll usually be fine, but some other, more specialized formulas may need to be adjusted manually. Google Sheets doesn’t support Excel’s array formulas in the exact same way, so it’s important to check those after conversion. - Cell Formatting: Google Sheets does a good job of retaining cell formatting like font styles, borders, and colors, but certain Excel-specific formatting may not translate perfectly. For example, if your Excel file uses custom number formats, conditional formatting, or complex data validation rules, these might not carry over as expected. It’s a good idea to check your sheets for these elements after conversion to ensure everything looks as it should.
- Charts and Graphs: Excel charts are generally well-supported by Google Sheets, but there are some cases where more complex charts or Excel-specific chart types may not convert correctly. If your file contains highly customized charts or graphs, you might need to recreate them in Google Sheets.
- Pivot Tables: Pivot tables can sometimes cause issues during conversion. Google Sheets has its own pivot table feature, but it’s a little different from Excel’s. Depending on the complexity of your pivot table, you may need to recreate or adjust it after the conversion to ensure it functions correctly.
- Data Integrity: One of the most important things to keep an eye on when converting is ensuring your data stays accurate. Google Sheets is generally reliable when it comes to importing numbers, text, and dates, but certain scenarios, like regional date formats or complex date/time functions, can cause issues. Double-check to make sure all your numbers, dates, and text fields have been imported correctly. In some cases, if your Excel file uses a very specific regional format, you might need to adjust the format in Google Sheets to match your needs.
- Links and References: External links and references in your Excel file might break during the conversion. If your Excel file includes hyperlinks or references to other workbooks, you’ll need to manually check and repair them after converting. It’s also important to verify that internal cell references (like ranges or named ranges) still work after the file is imported.
While Google Sheets is highly capable of converting Excel files, it’s not a flawless one-to-one transition. Understanding the potential issues with formulas, formatting, and data integrity is key to ensuring your data remains intact after the conversion process. By checking your work thoroughly and making any necessary adjustments, you can ensure that your converted Google Sheets file functions as smoothly as the original Excel file.
How to Convert Excel to Google Sheets Using Google Drive?
Converting your Excel files to Google Sheets via Google Drive is one of the easiest and most straightforward methods available. By following a few simple steps, you can upload your Excel file, open it directly in Google Sheets, and save it as a Google Sheets document. Let’s walk through the process step-by-step.
Uploading Your Excel File to Google Drive
The first step in converting your Excel file is to upload it to Google Drive. This allows Google Sheets to access the file and convert it into the appropriate format.
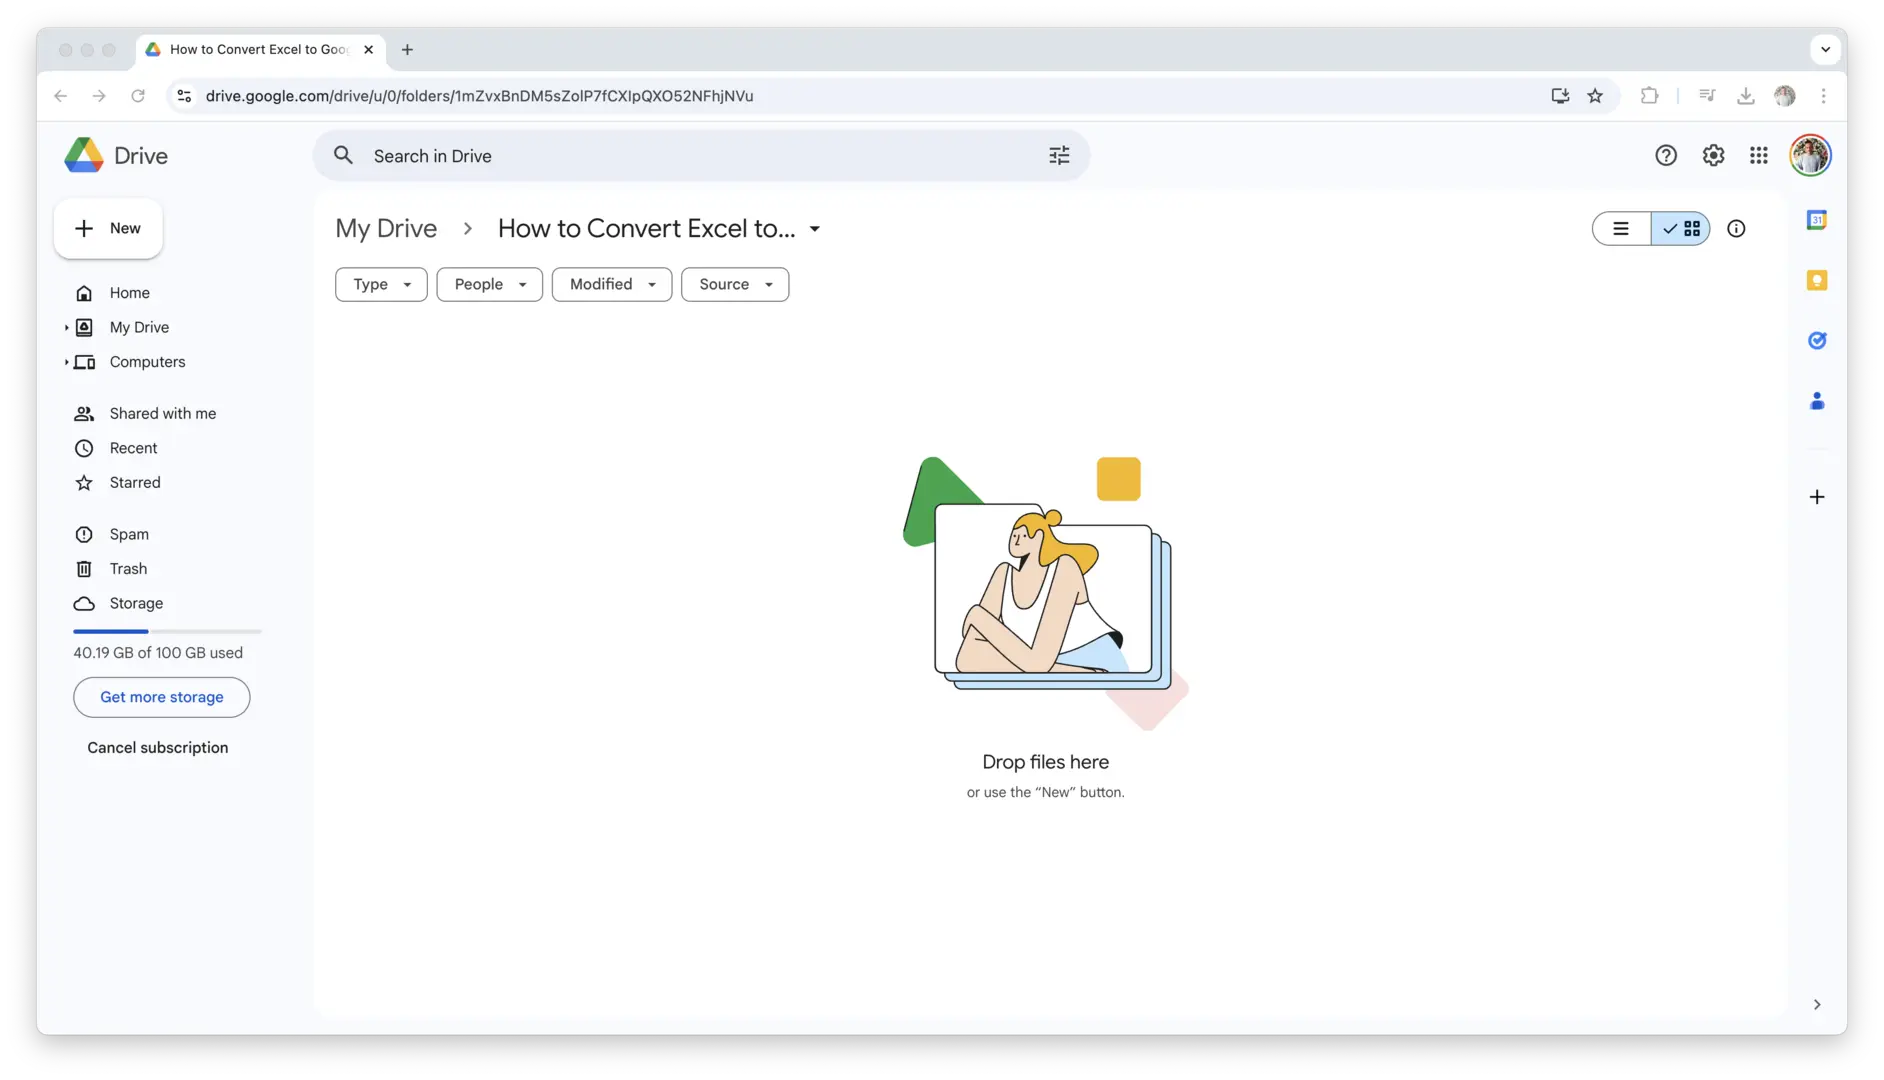
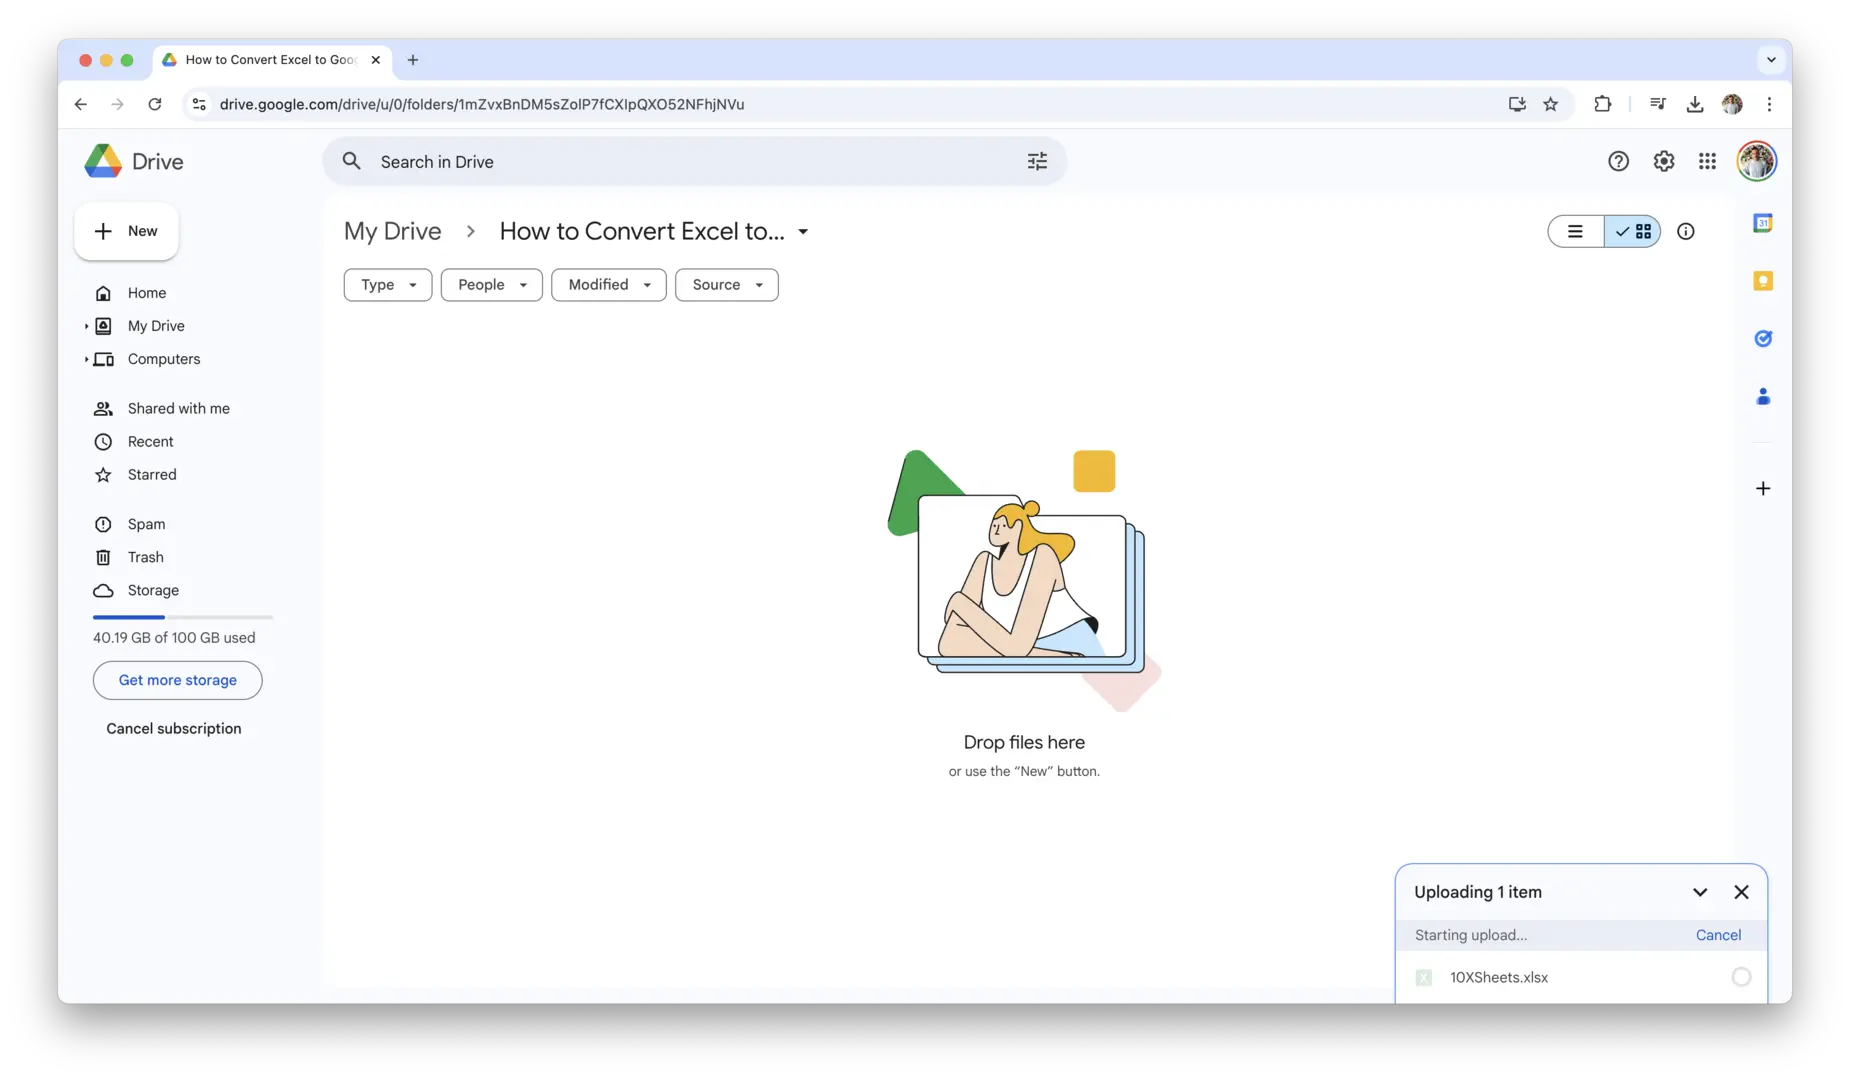
- Open Google Drive: Head to drive.google.com in your web browser. If you’re not already signed into your Google account, sign in now.

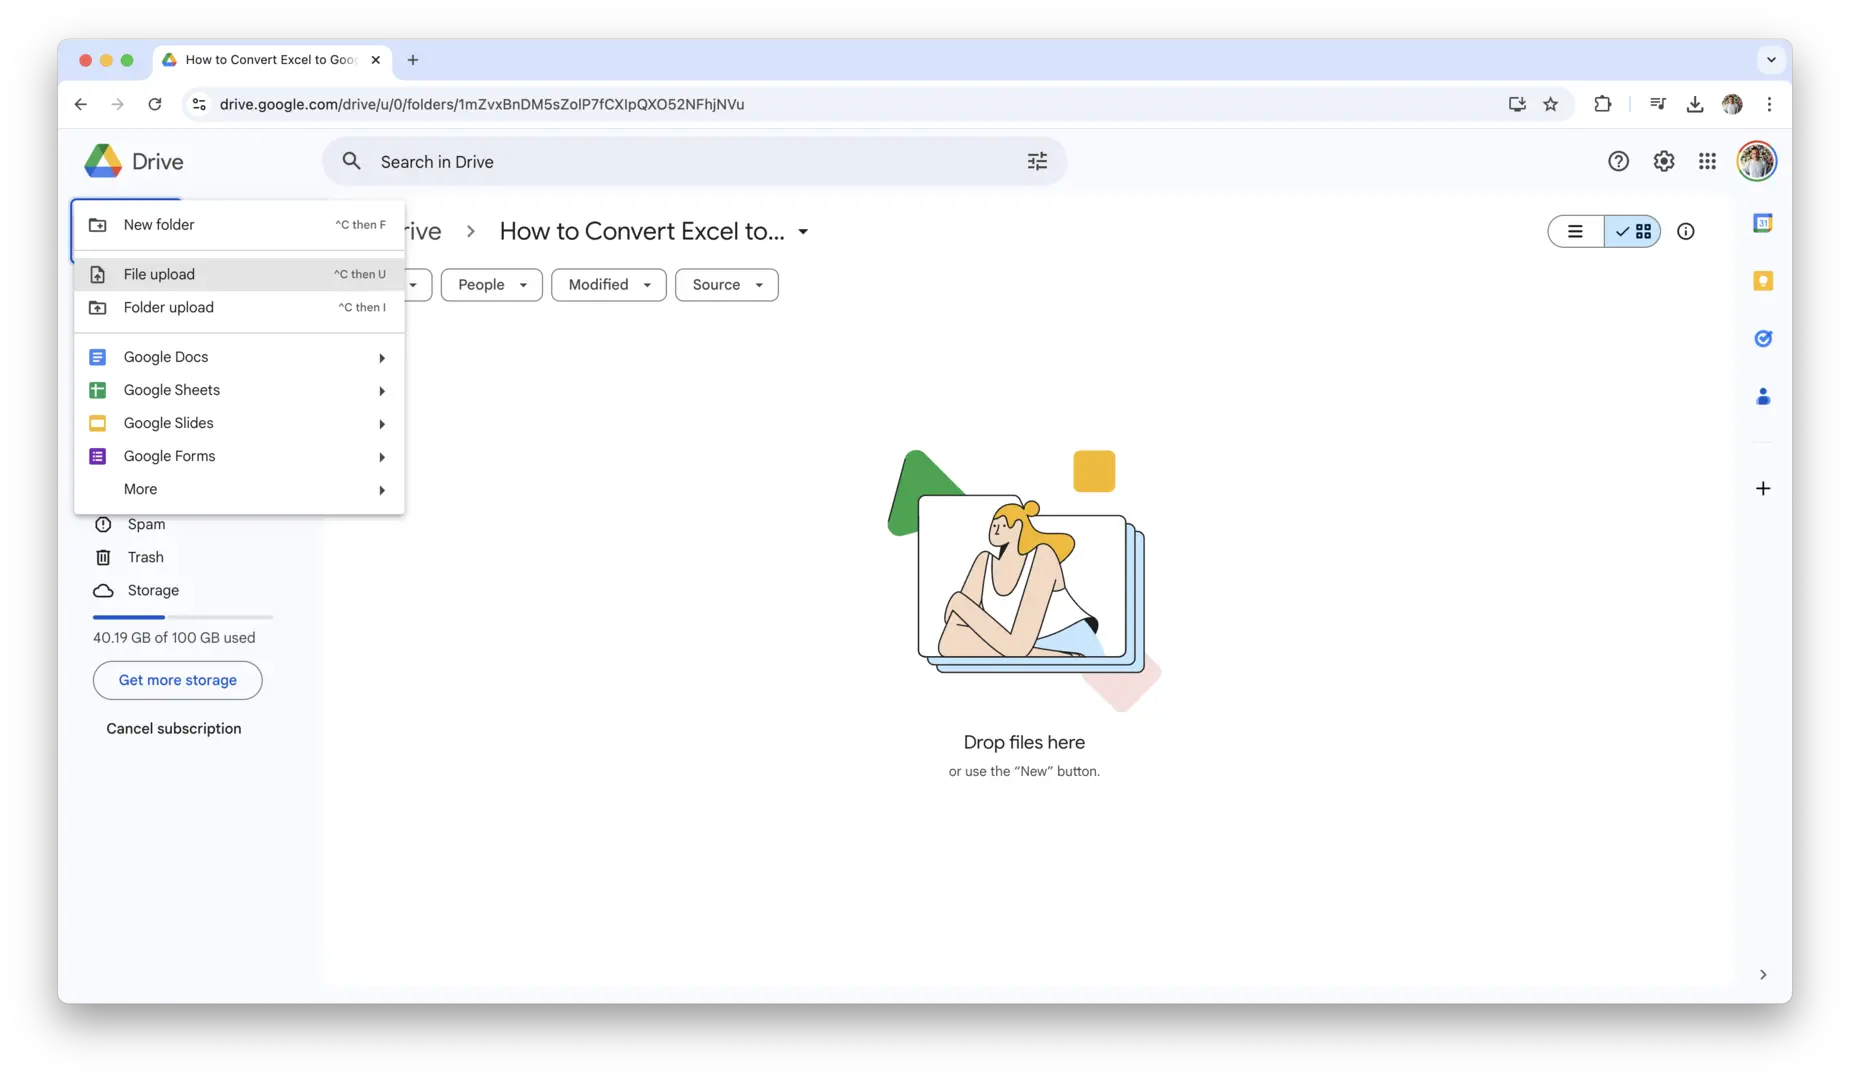
- Upload the Excel File: On the left side of the Google Drive interface, you’ll see a ‘+ New’ button. Click on it, and a dropdown menu will appear. From this menu, select ‘File upload’.

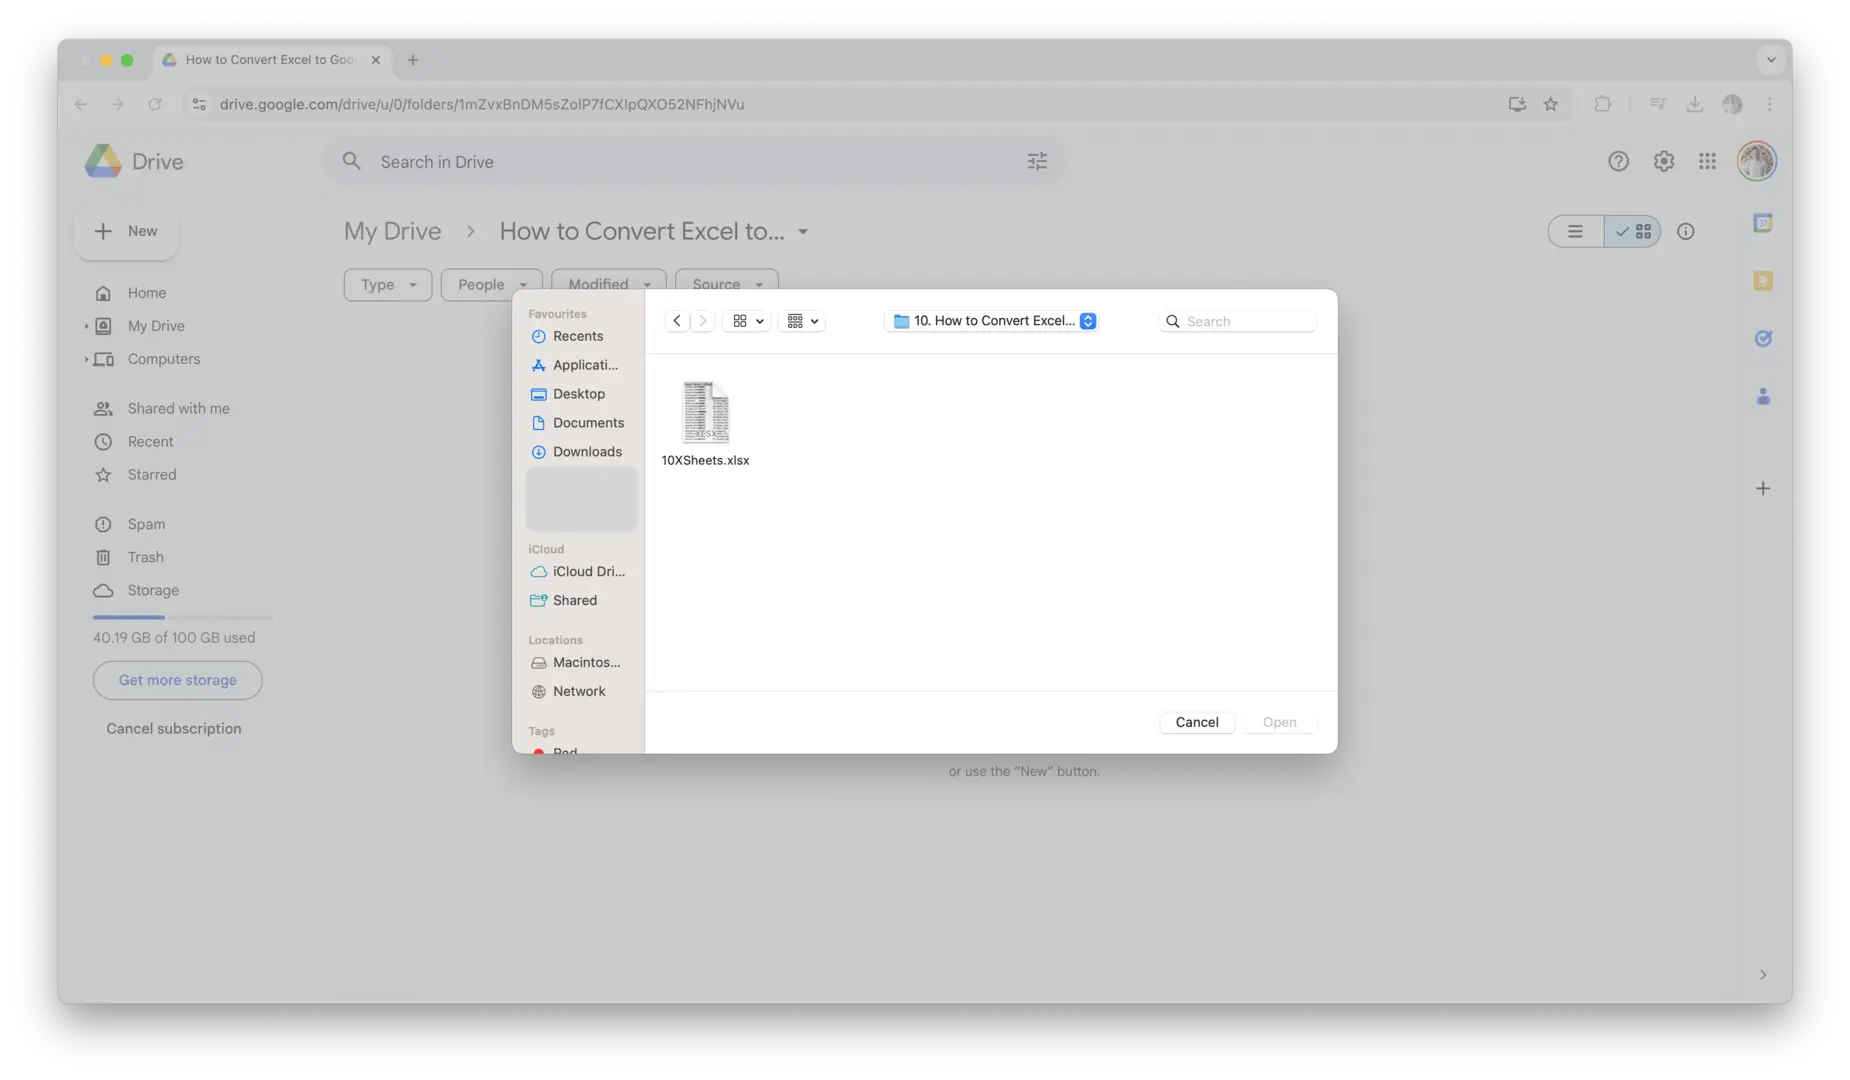
- Choose the File: A file dialog box will open, allowing you to browse through your computer. Find the Excel file you want to upload, select it, and click ‘Open’. The file will start uploading to your Google Drive.
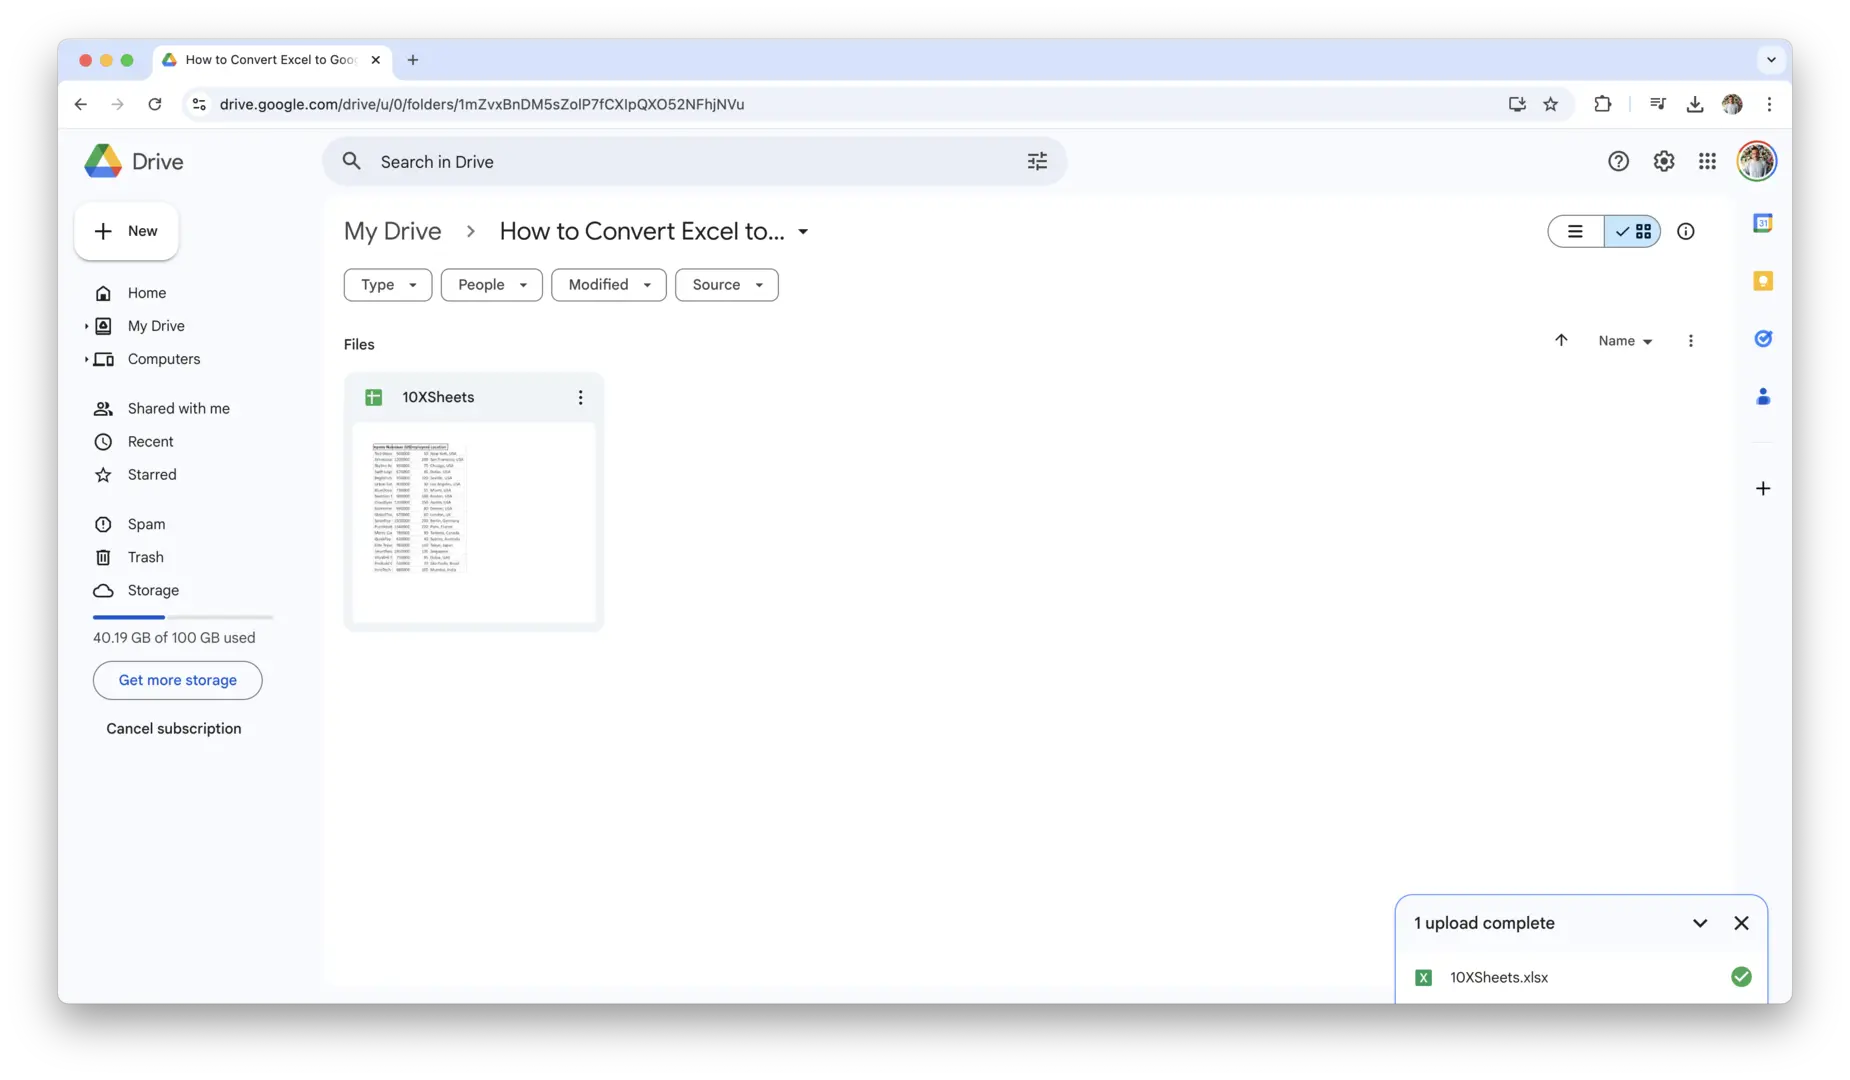
- Wait for the Upload: Depending on the size of the file, the upload may take a few seconds or a minute. You’ll see a progress bar in the bottom-right corner of Google Drive while the file uploads. Once it’s done, the file will appear in your Google Drive.
Once the file is uploaded, you’re ready to move on to opening it in Google Sheets.
Opening the Excel File in Google Sheets
Now that your Excel file is uploaded to Google Drive, it’s time to open it in Google Sheets. This process is quick and simple.
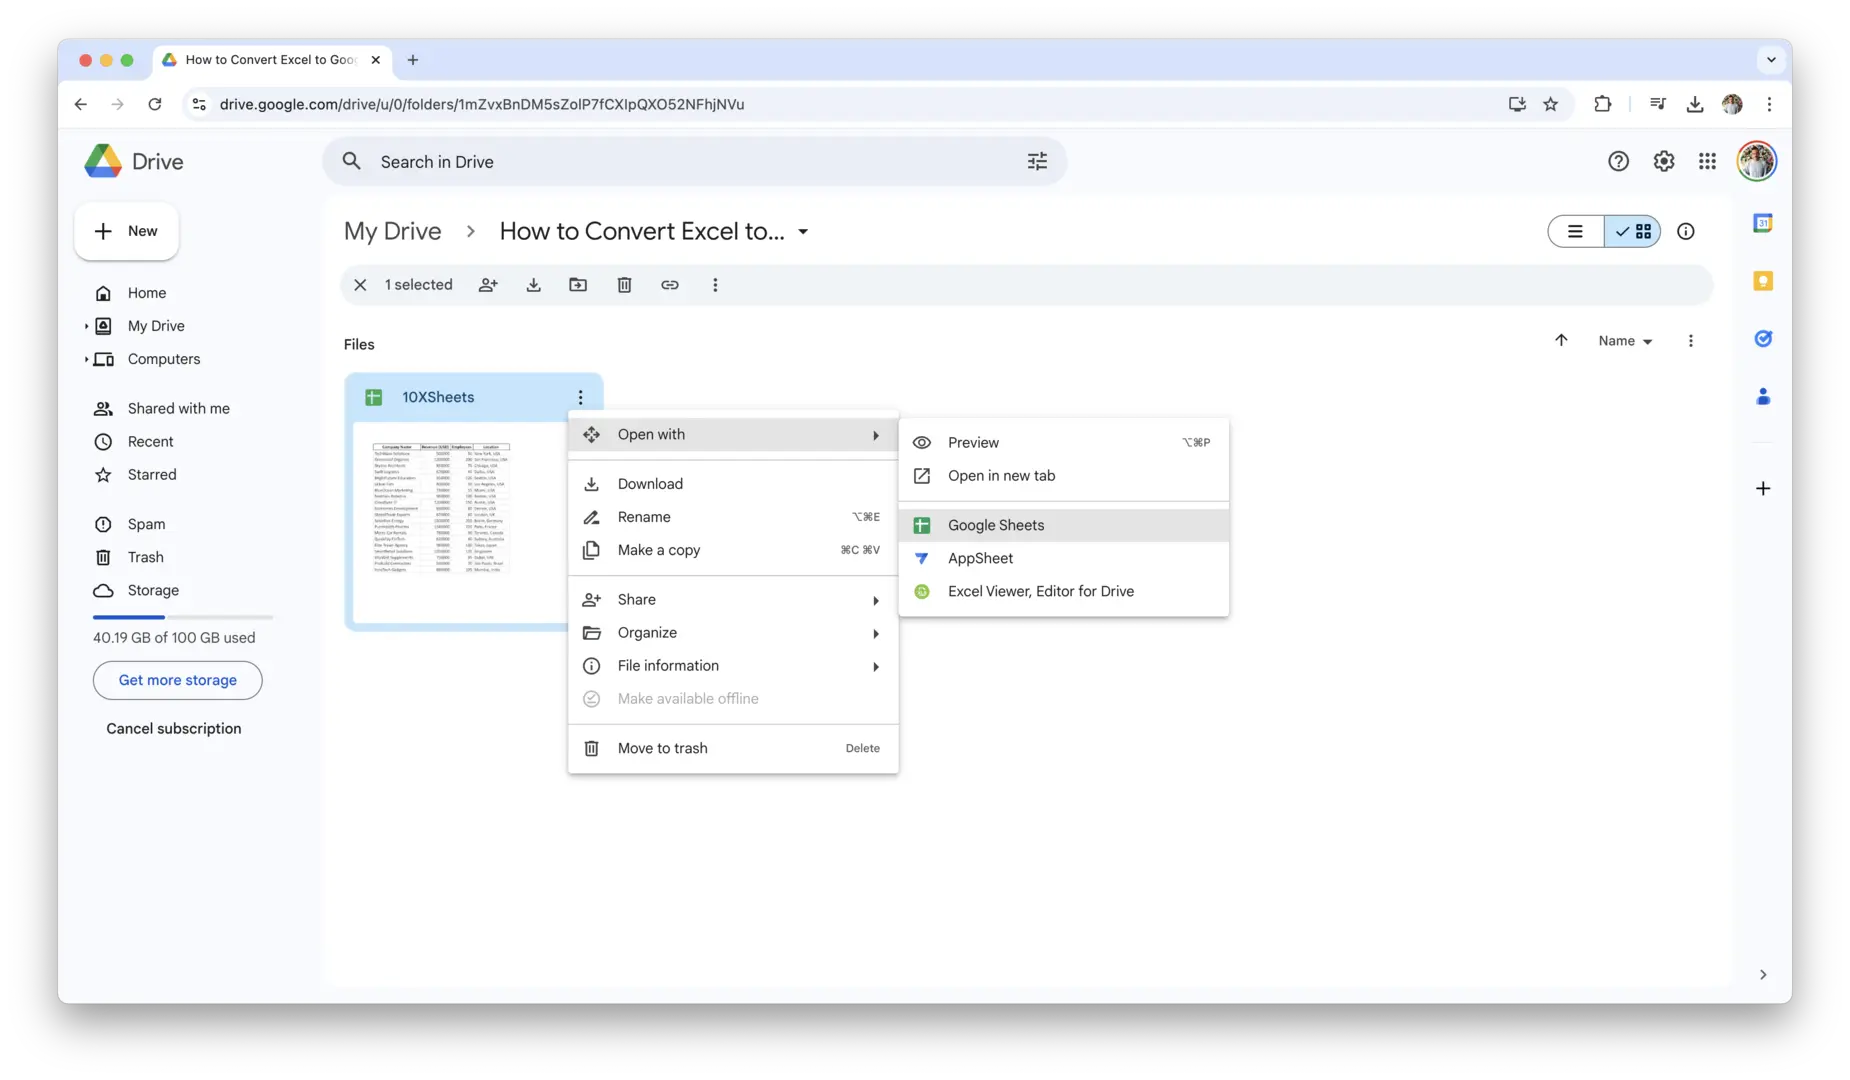
- Locate the Excel File: In your Google Drive, navigate to the file you just uploaded. If you’ve uploaded multiple files, it might be a good idea to sort or search for the file to find it more easily.
- Open with Google Sheets: Right-click on the Excel file, and a context menu will appear. From this menu, hover over the ‘Open with’ option, and you’ll see a submenu with available apps. Select ‘Google Sheets’.
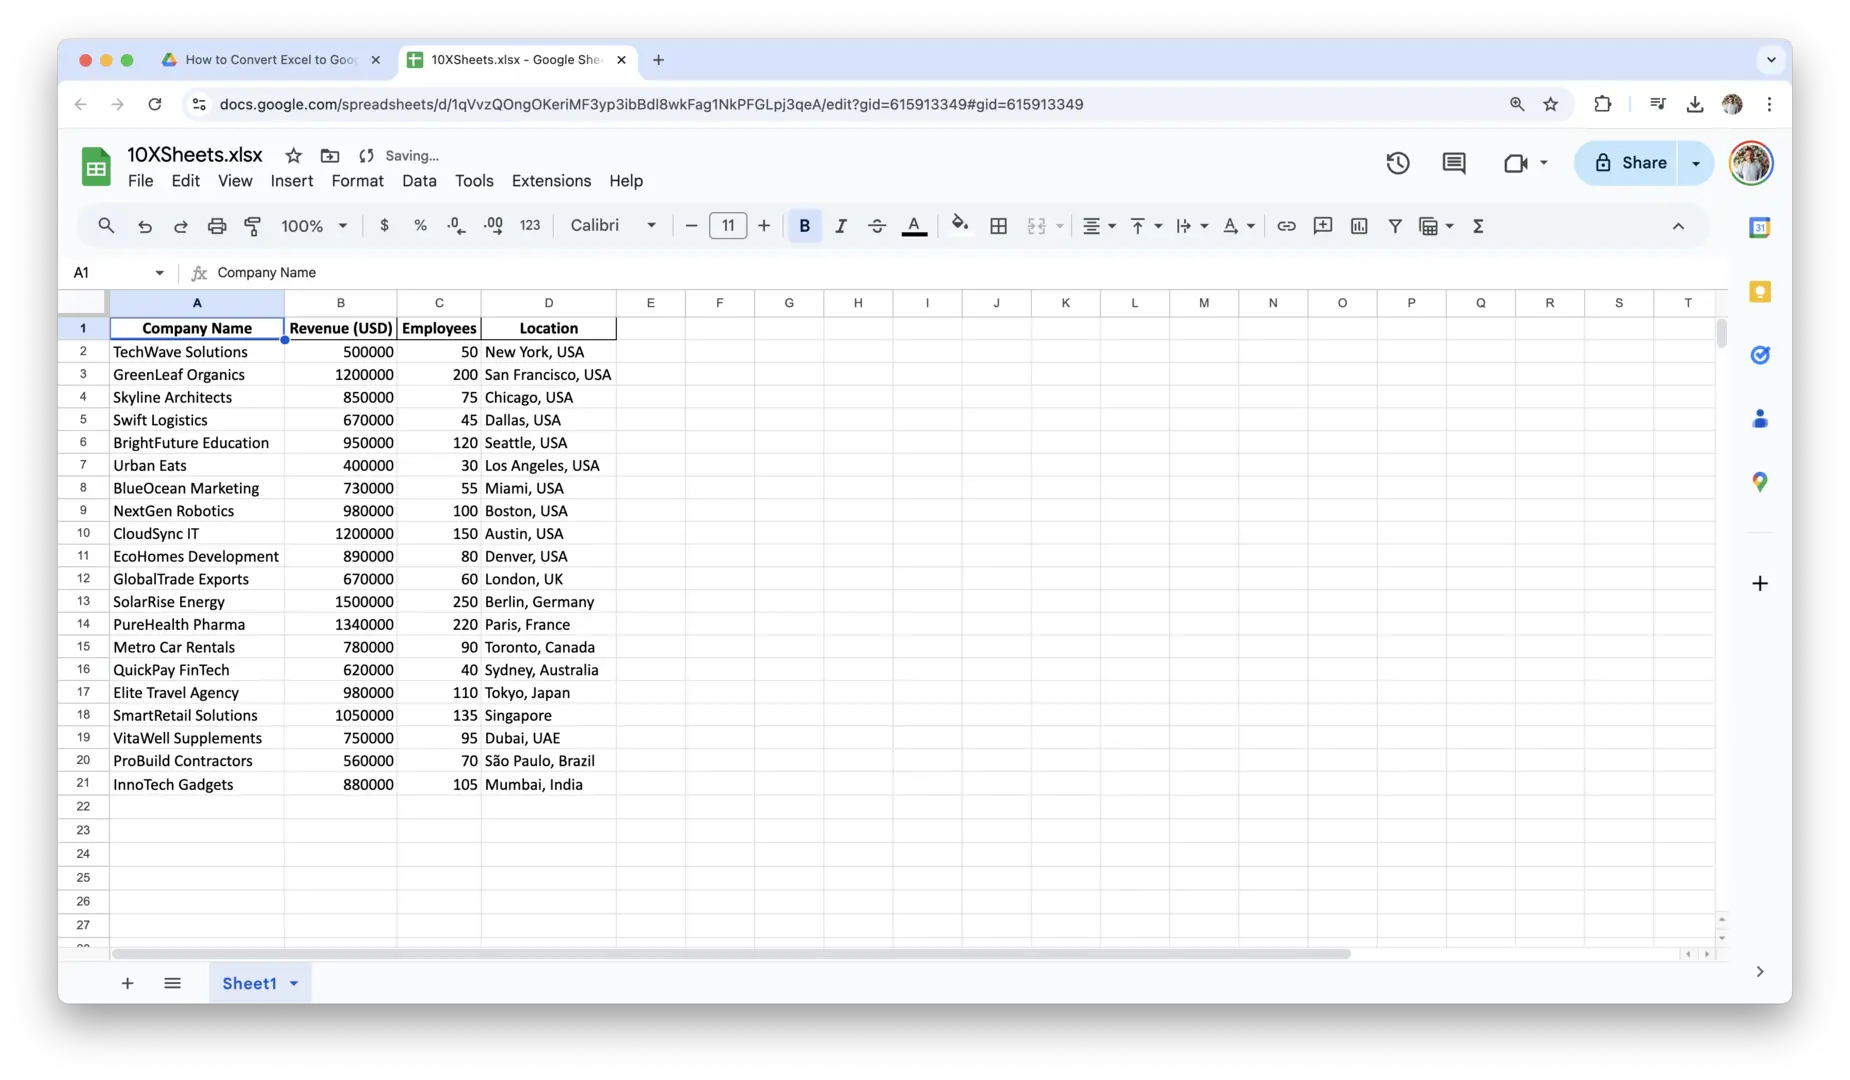
- View the File in Google Sheets: The Excel file will now open in Google Sheets, and you’ll see all your data and formatting appear exactly as it was in Excel, as long as it was compatible with Google Sheets. Take a moment to check that everything has transferred correctly, especially formulas, formatting, and charts.
This method works seamlessly for most basic Excel files. However, if the file contains advanced Excel-specific features like macros or VBA code, you might run into some compatibility issues, but Google Sheets will try to convert as much of the data as it can.
Saving as a Google Sheets Document
At this point, the file is still an Excel file within Google Sheets. To fully convert it into a native Google Sheets document, you’ll need to save it in the correct format.
- Save the File: While the file is open in Google Sheets, go to the top-left corner of the window and click on ‘File’ in the menu bar. From the dropdown, select ‘Save as Google Sheets’.
- Create a New Google Sheets File: This action will create a new document in Google Sheets with all of your Excel data converted. The original Excel file will remain unchanged in your Google Drive, while the new Google Sheets document will appear in the same folder.
- Rename the File: After saving it as a Google Sheets document, you can easily rename it. To do so, click on the document title at the top of the page (usually something like “Untitled spreadsheet”) and enter a new name. This helps you keep everything organized, especially if you’re dealing with multiple conversions.
- Check for Formatting Issues: Once the file is saved as a Google Sheets document, check through it to make sure all data, formulas, and formatting have carried over correctly. If any formatting was lost in the process, you can quickly fix it in Google Sheets, as it has many tools for adjusting columns, fonts, and conditional formatting.
Now that your file is in Google Sheets, it’s ready for collaboration, sharing, and editing. You can work on it directly in the cloud, and anyone you share the document with will always have access to the most up-to-date version. By following these steps, you’ve successfully converted your Excel file into a Google Sheets document, ensuring that your data remains intact and ready for the next steps in your workflow.
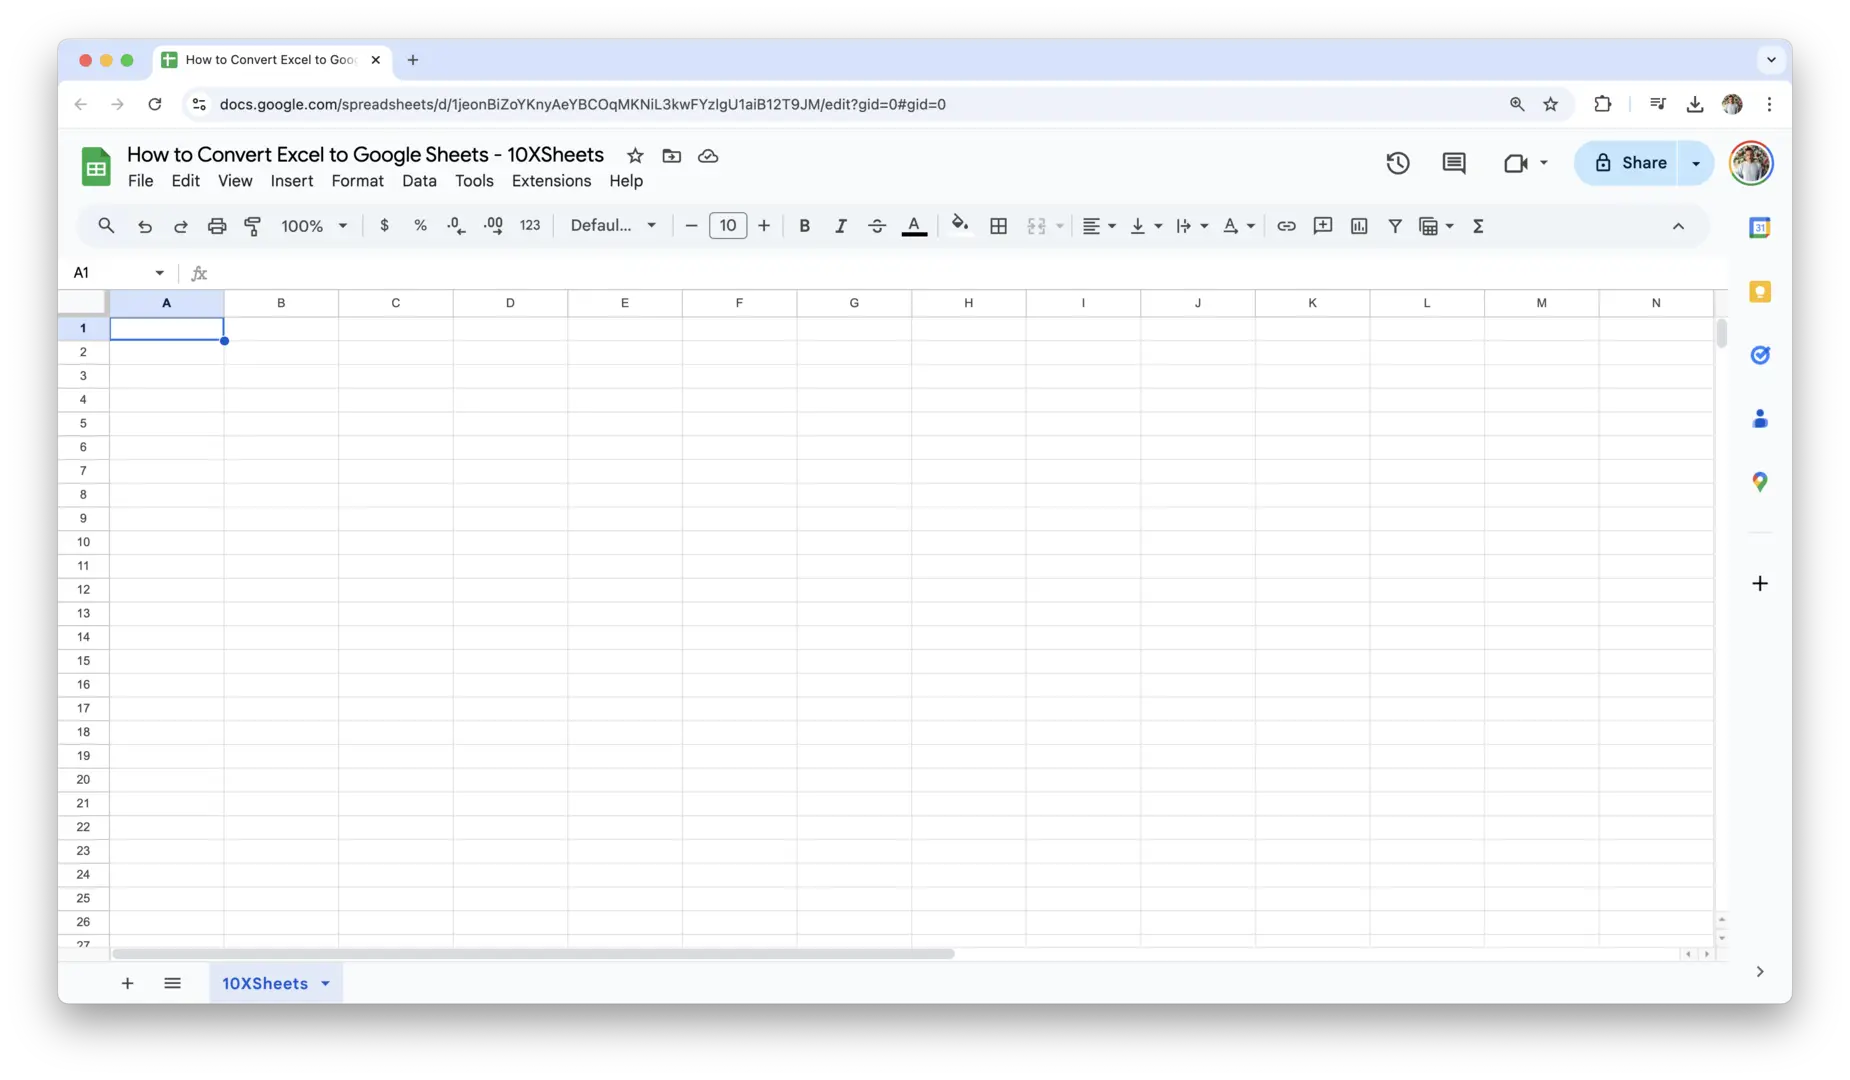
How to Convert Excel to Google Sheets?
While using Google Drive is the easiest method for converting Excel files to Google Sheets, sometimes you might want to take a more hands-on approach. This allows you to have more control over the import process, ensuring everything is set up exactly how you want it. Let’s go over the manual process step-by-step to ensure your conversion is as smooth as possible.
1. Open Google Sheets
The first step is to open Google Sheets. Whether you’re creating a new spreadsheet or adding an Excel file to an existing one, Google Sheets is the perfect platform for managing your converted data.
- Go to Google Sheets: Open your browser and visit Google Sheets. If you’re not already logged into your Google account, log in.
- Create a New Spreadsheet: If you want to convert the Excel file into a new document, click on the + Blank option to create a fresh spreadsheet. Alternatively, if you want to add the Excel file to an existing Google Sheets document, open the file where you’d like to import the data.
- Prepare the Workspace: You may want to take a moment to adjust the Google Sheets settings or make sure you have enough space for the data you’re about to import. Google Sheets offers various features like tabs and colors to help organize your data after the conversion.
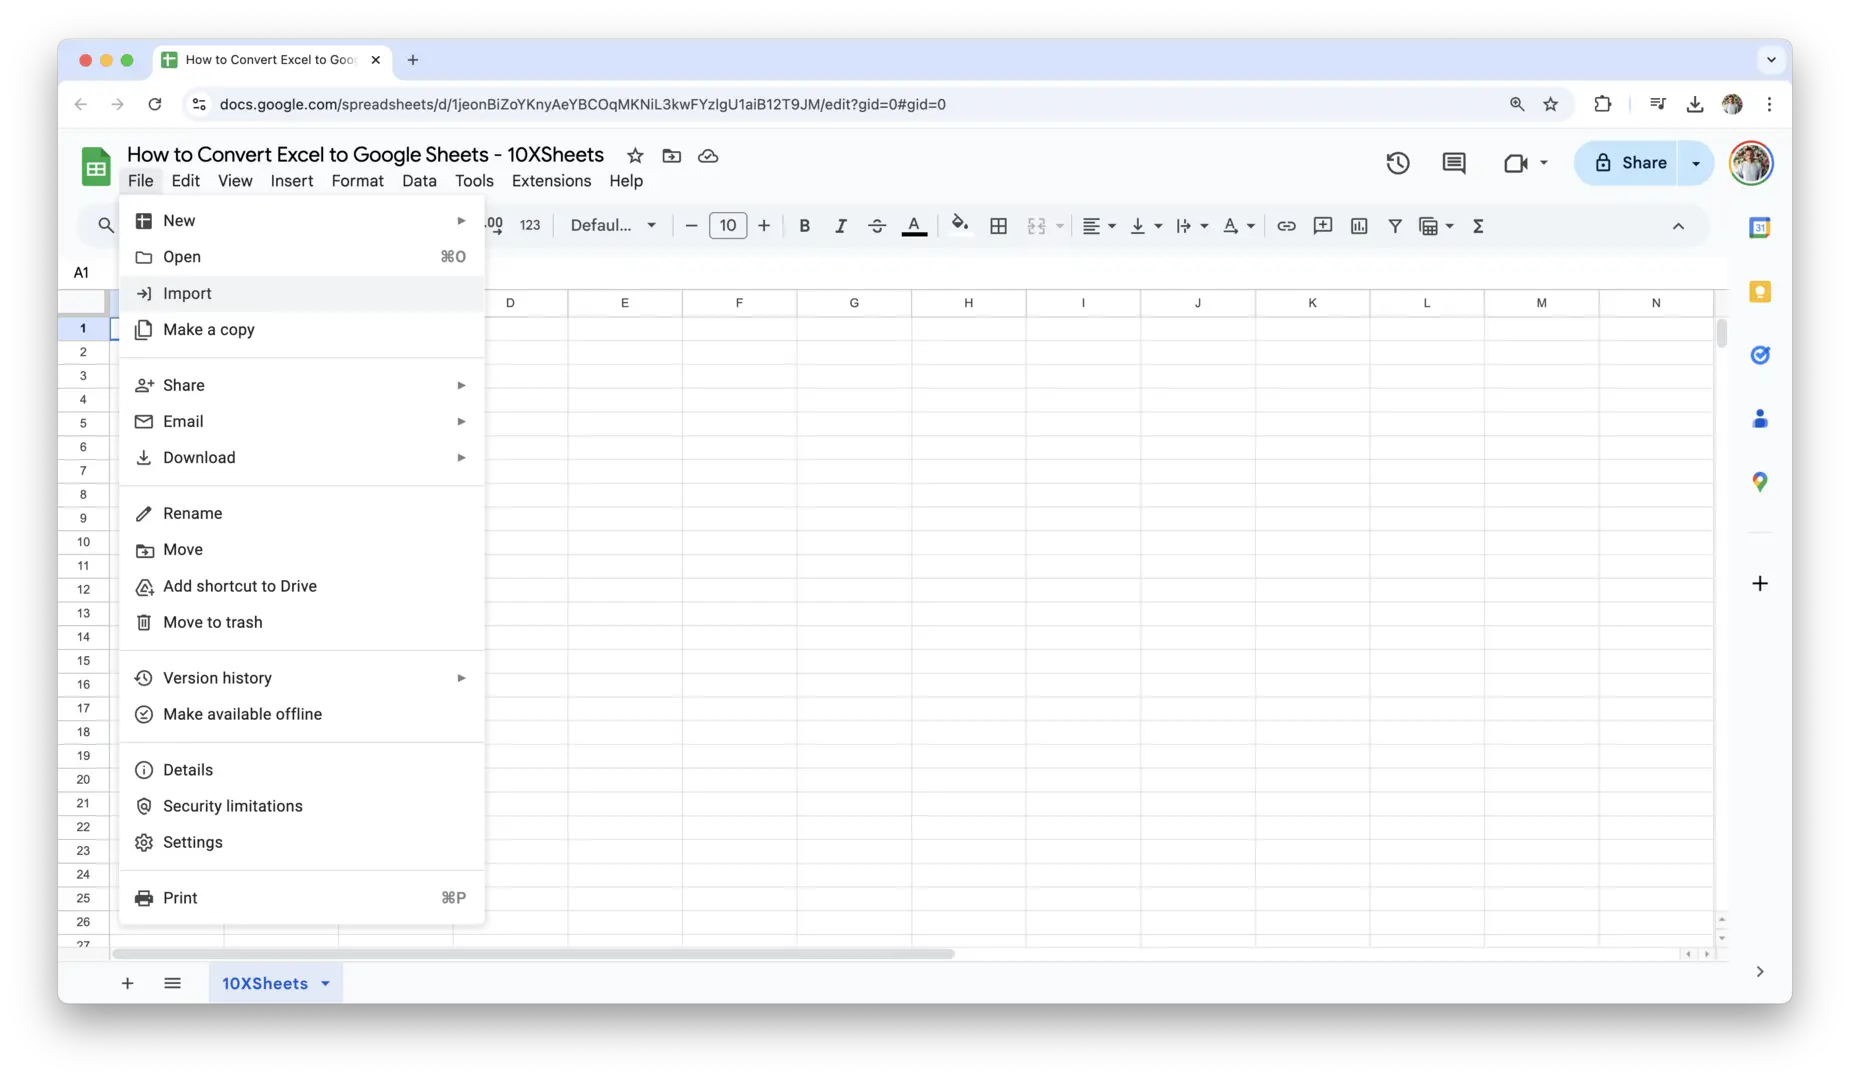
2. Import Excel File
Once Google Sheets is ready, it’s time to bring in your Excel file. This process is simple but requires attention to detail, especially when dealing with larger files.
- Navigate to ‘File’ Menu: With your Google Sheets file open, click on File in the top-left corner.
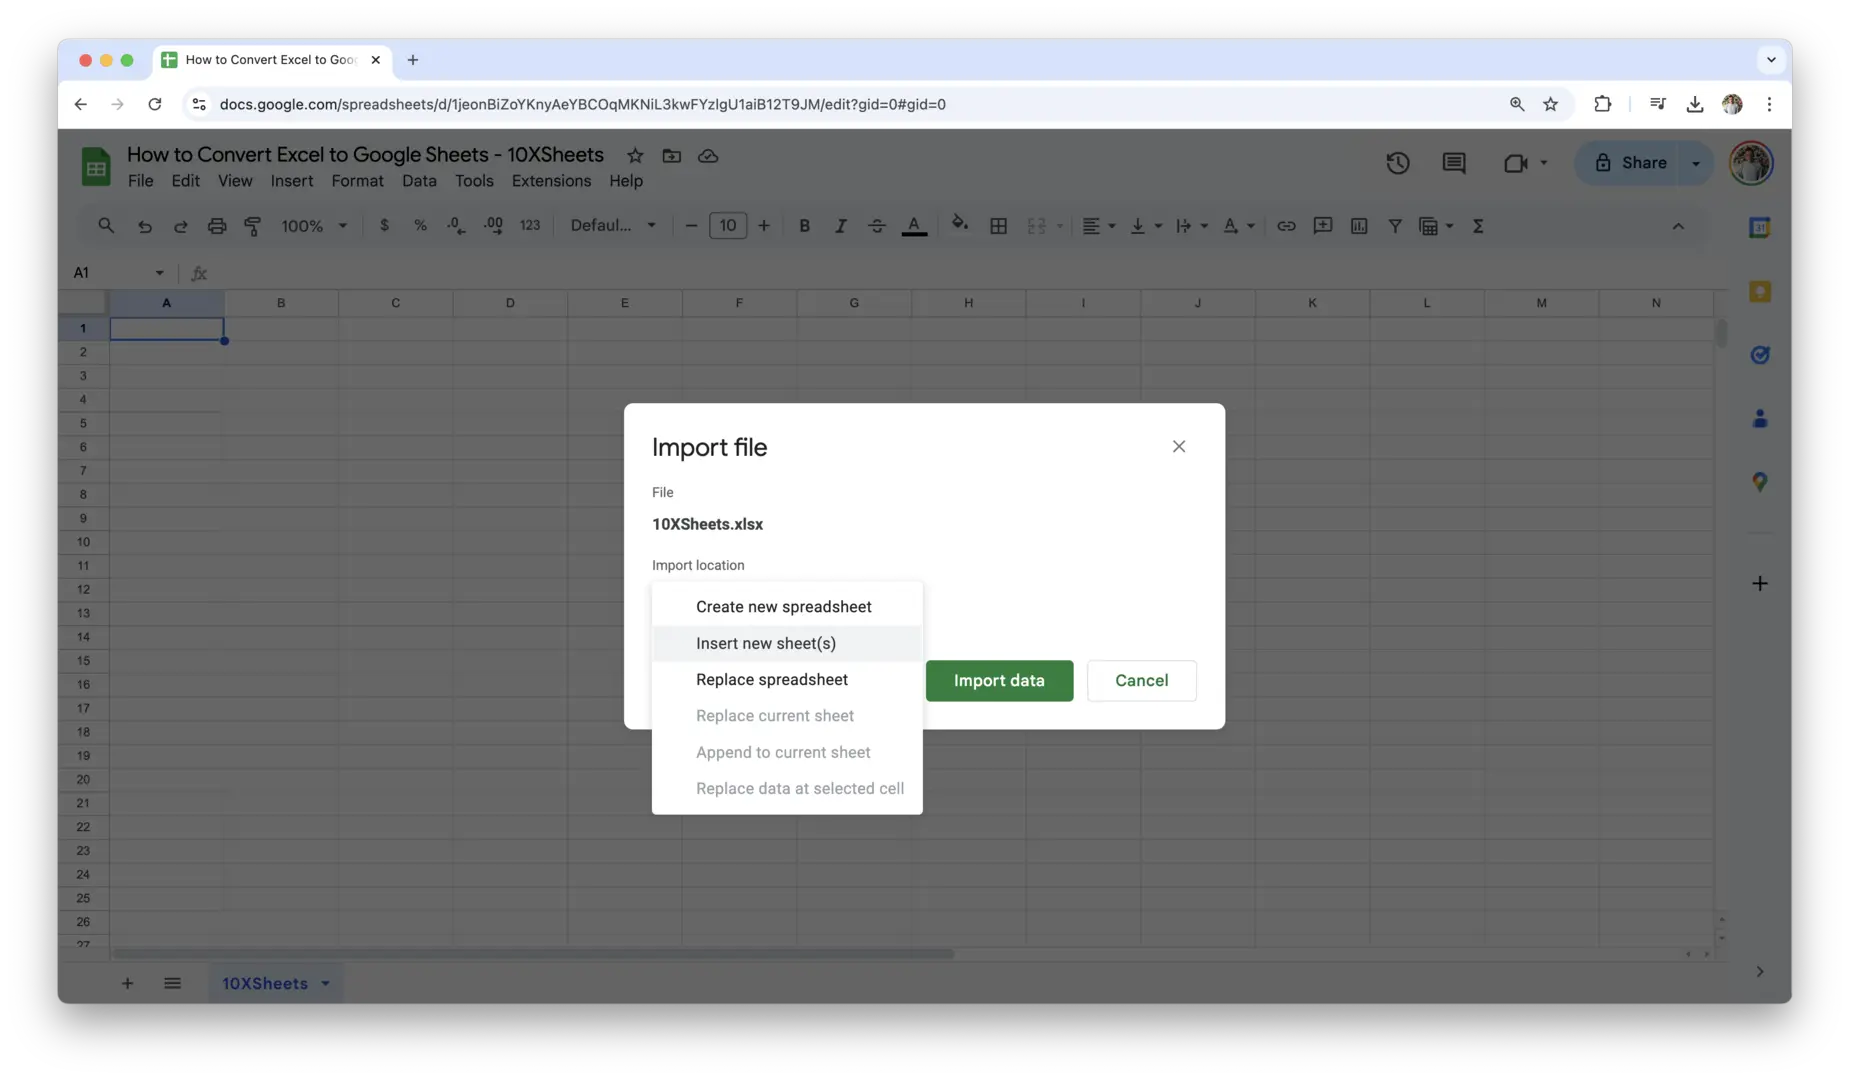
- Select Import: From the dropdown, select Import. This opens the Import File dialog box, where you can choose your Excel file.
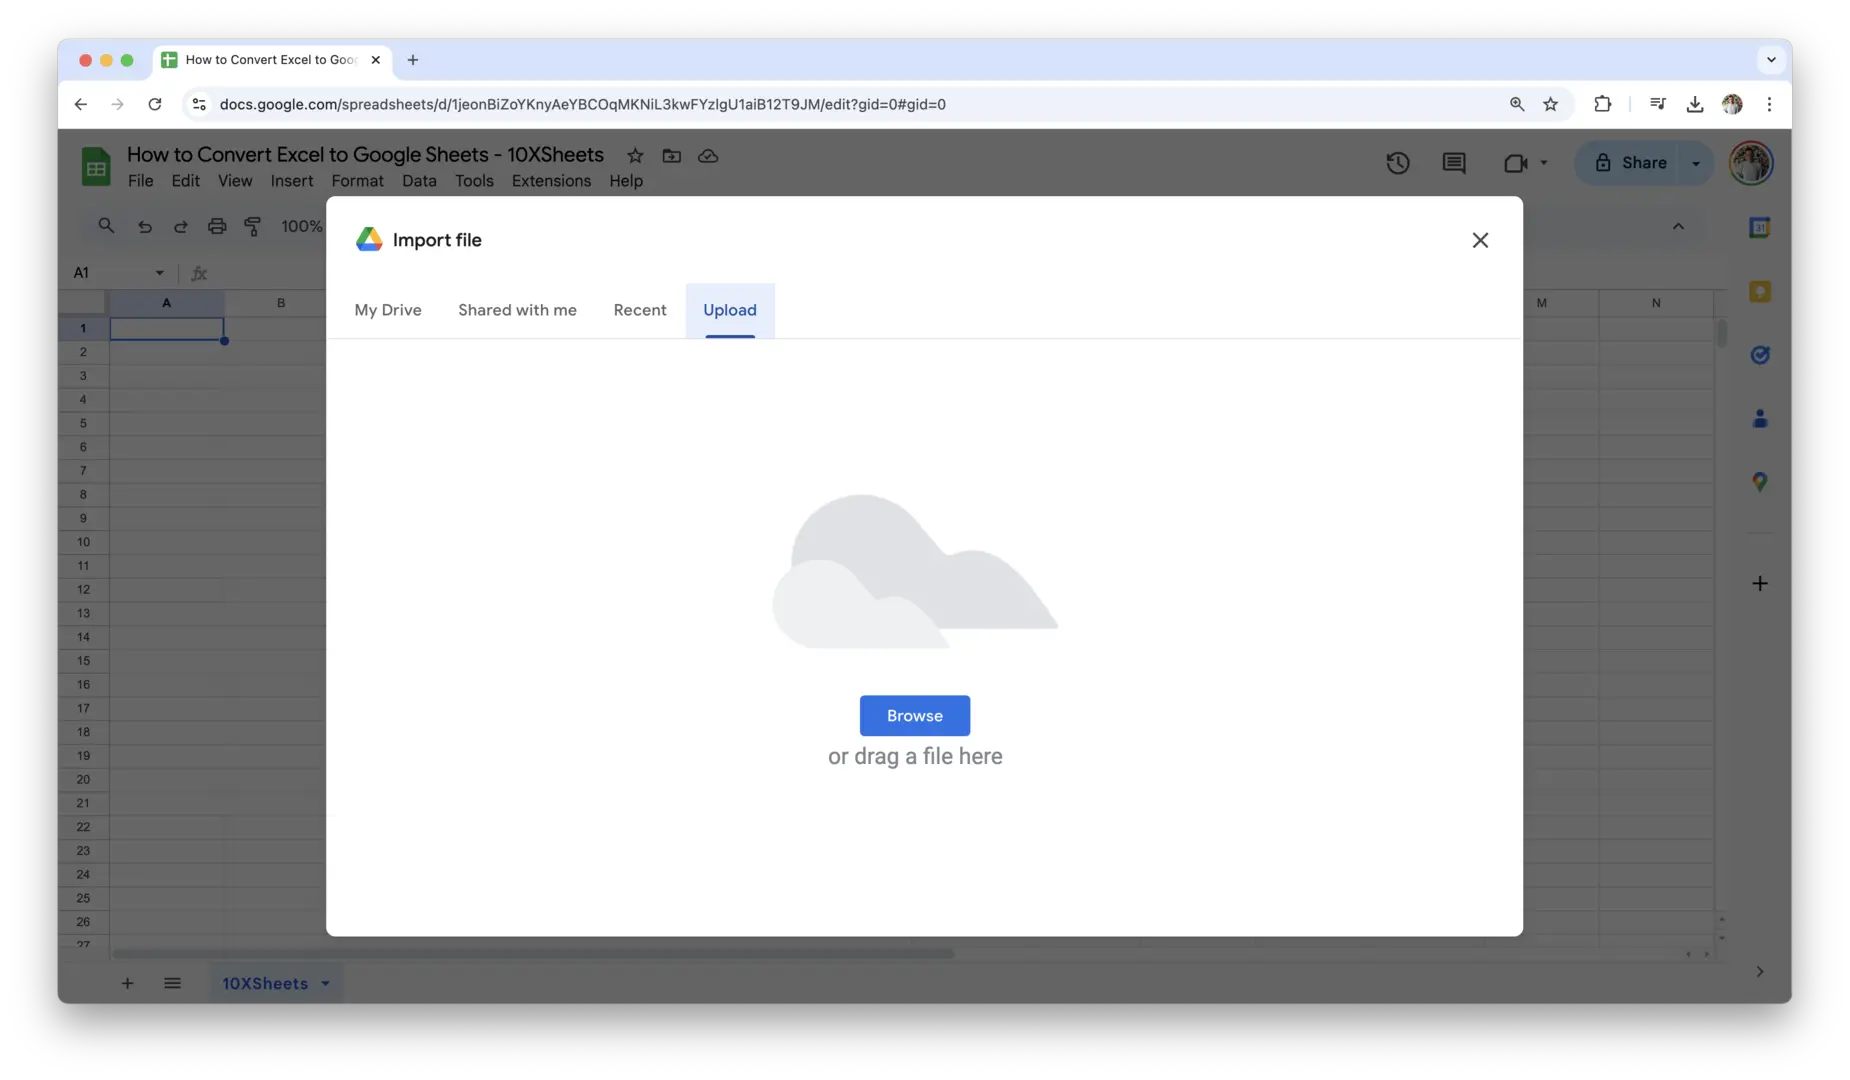
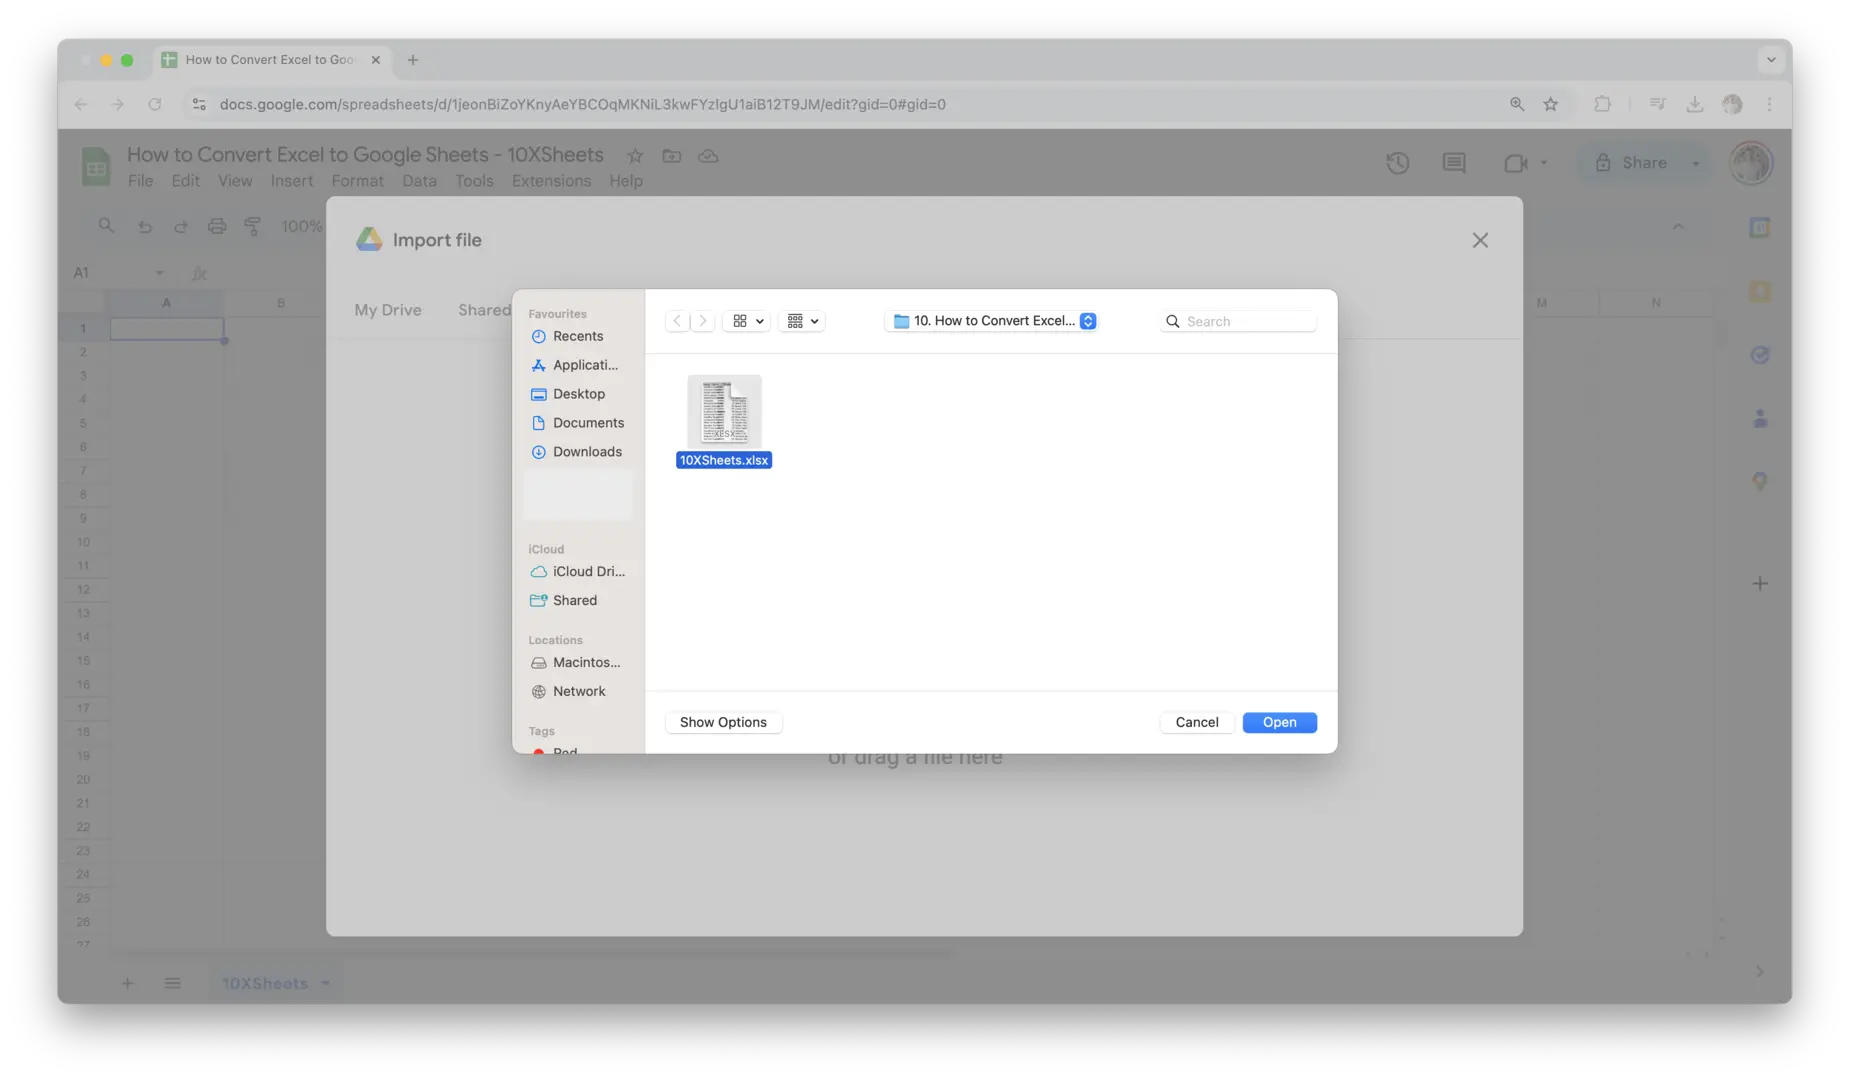
- Choose Upload Option: In the dialog box, you will see several options to import the file. Select Upload and either drag the Excel file into the upload area or click Select a file from your device to find and choose the Excel file on your computer.
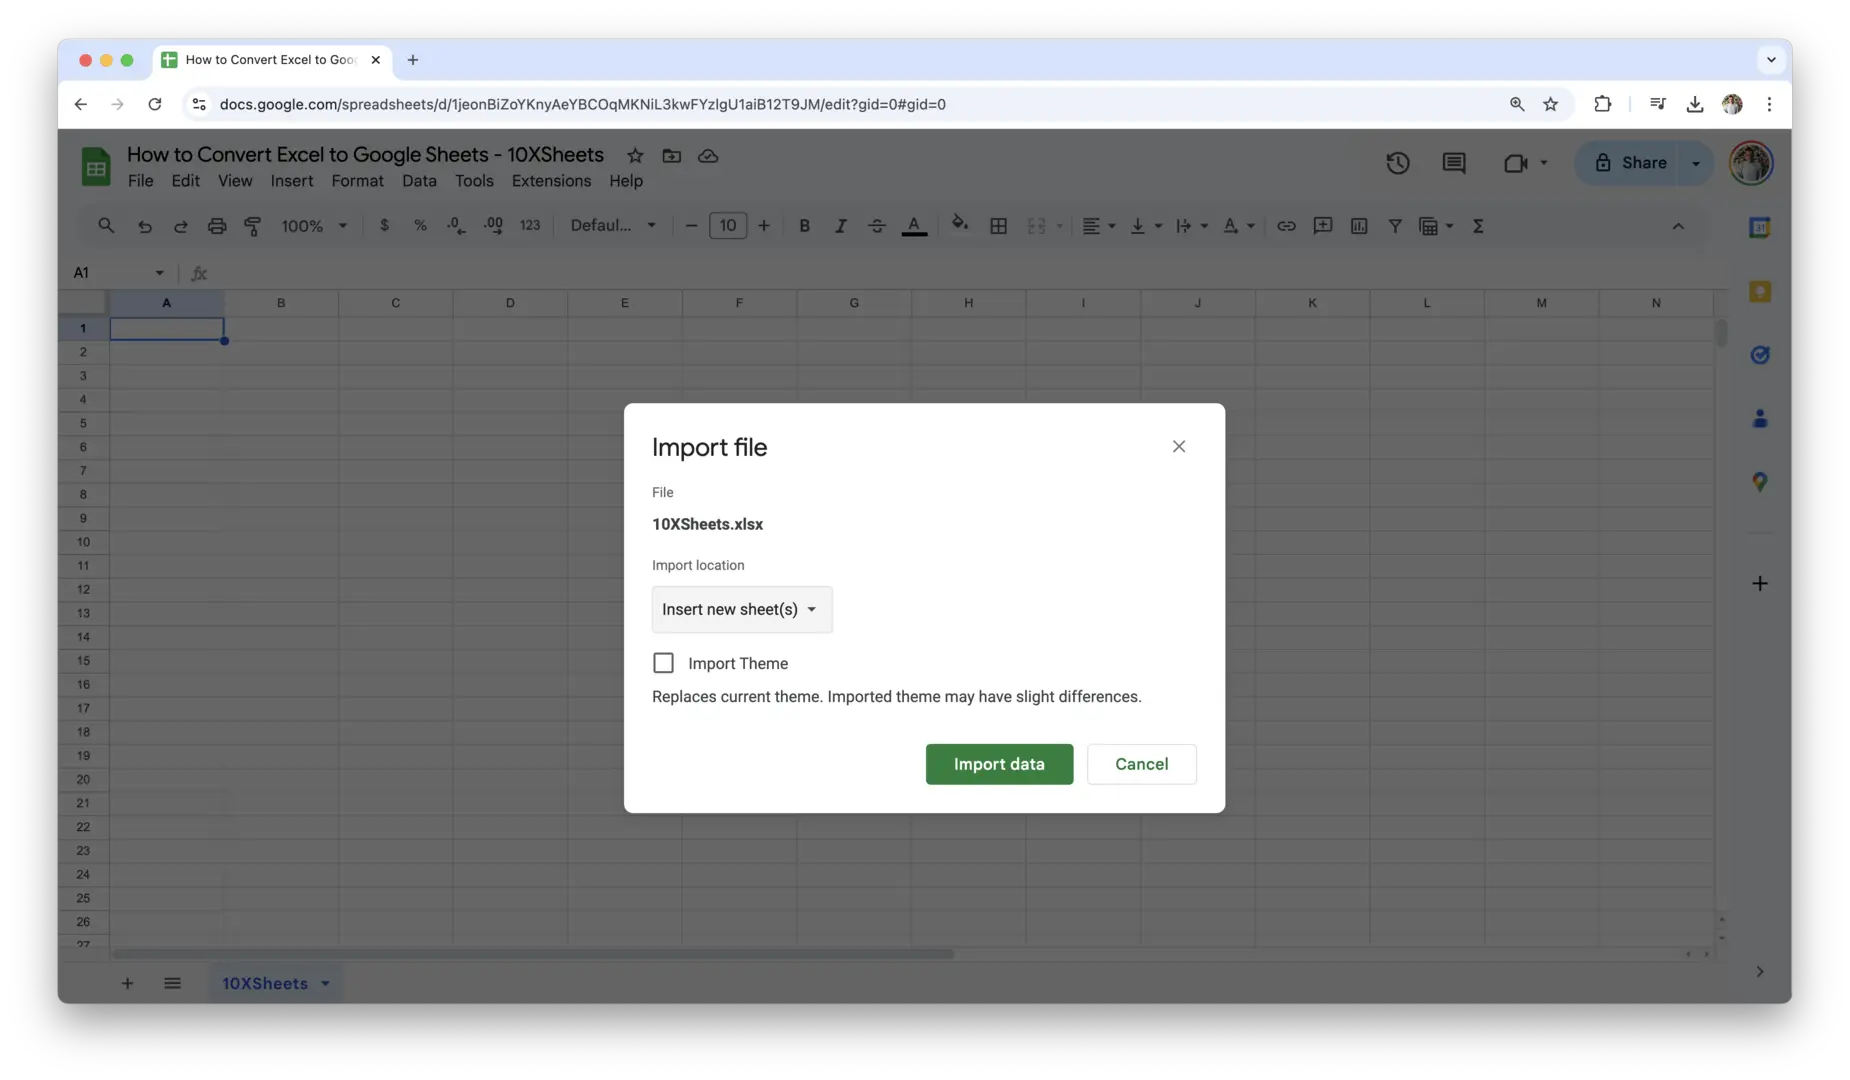
- Choose Import Settings: After selecting the file, you will be prompted with a few options on how to import the data. Here, you can choose to:
- Create a new spreadsheet
- Insert the data into the current sheet
- Replace the current sheet with the imported data
Choose the option that best suits your needs. If you’re working with a file that has multiple sheets, Google Sheets will also give you the option to import them all or select which sheets to bring in.
3. Adjust Settings for Optimal Formatting and Formula Support
After importing the Excel file into Google Sheets, it’s important to check the settings and make any adjustments to ensure everything displays correctly.
- Check Formatting: Sometimes Excel-specific formatting (like custom number formats, cell sizes, or merged cells) may not transfer seamlessly into Google Sheets. After importing the file, check that the formatting matches your expectations. For example, ensure that date formats, currency symbols, and percentages are displayed properly.
- Check Formulas: While Google Sheets supports most Excel formulas, certain complex formulas might require tweaking. Look over any formulas in your file (like
VLOOKUP,IF,SUMIF, etc.) and test to ensure they still work as expected. Some Excel functions, especially those that involve external data or advanced references, may need to be adjusted. - Fix Data Ranges: Ensure that all ranges referenced by formulas are still accurate after the import. Sometimes, data ranges can shift, especially if rows or columns were added or deleted in the conversion process.
- Reapply Conditional Formatting: If your Excel file used conditional formatting (e.g., color-coding based on values), double-check that these settings transferred over properly. If they didn’t, you can easily recreate them in Google Sheets using the Format > Conditional formatting menu.
- Recreate Charts and Graphs: Charts from Excel may not always import correctly. If your file contains complex charts, you may need to manually recreate them in Google Sheets. Fortunately, Google Sheets offers powerful charting tools that can help you build the same graphs with ease.
4. Save and Review Conversion Results
Once you’ve made all the necessary adjustments, it’s time to save the file and perform a final review to ensure everything is in order.
- Save as Google Sheets: If you haven’t already saved the file as a Google Sheets document, be sure to do so. Go to File > Save as Google Sheets to create a native Google Sheets file.
- Check for Missing Data: Take a moment to scan the document and verify that no data was lost during the conversion process. Pay close attention to any tables, charts, or formulas that could have been impacted.
- Review for Errors: Finally, test the functionality of any formulas and check that all your references, links, and data are working correctly. Make sure that the file behaves as it should before sharing it with others.
After completing these steps, your Excel file is fully converted into a Google Sheets document, ready to be shared, edited, and collaborated on in real-time.
Batch Excel to Google Sheets Conversion: Tools and Options for Multiple Files
If you need to convert multiple Excel files to Google Sheets, manually converting each file one by one can quickly become time-consuming. Fortunately, there are options to speed up the process and automate the conversion of multiple files at once. Here’s how to approach batch conversion.
Google Sheets Batch Import Options
For small batches of files, you can use Google Sheets’ native features to import and convert multiple Excel files. Although Google Sheets doesn’t offer a direct bulk import function in the same way it handles individual files, you can still simplify the process with a few methods.
- Google Drive Bulk Upload: One simple way to import multiple Excel files is to upload them all at once to Google Drive. While this doesn’t automatically convert them into Google Sheets, you can easily open them individually and use the steps outlined earlier to convert them.
- Google Sheets API: For more advanced users, Google Sheets offers an API that allows for the batch conversion of multiple Excel files. Using this API, you can write a custom script that uploads and converts multiple Excel files to Google Sheets format at once. While this requires some coding knowledge, it’s an excellent option for businesses with large quantities of files that need to be processed quickly.
- Google Apps Script: Another option is Google Apps Script, a JavaScript-based language that allows you to automate tasks in Google Sheets. You can create a script that imports multiple Excel files and saves them as Google Sheets in bulk. This method requires familiarity with Google Apps Script, but once the script is set up, it can handle conversions quickly and automatically.
Using Third-Party Tools or Add-ons for Bulk Conversions
If you don’t want to go the coding route or you prefer a simpler solution, there are third-party tools and add-ons that can help with bulk conversions.
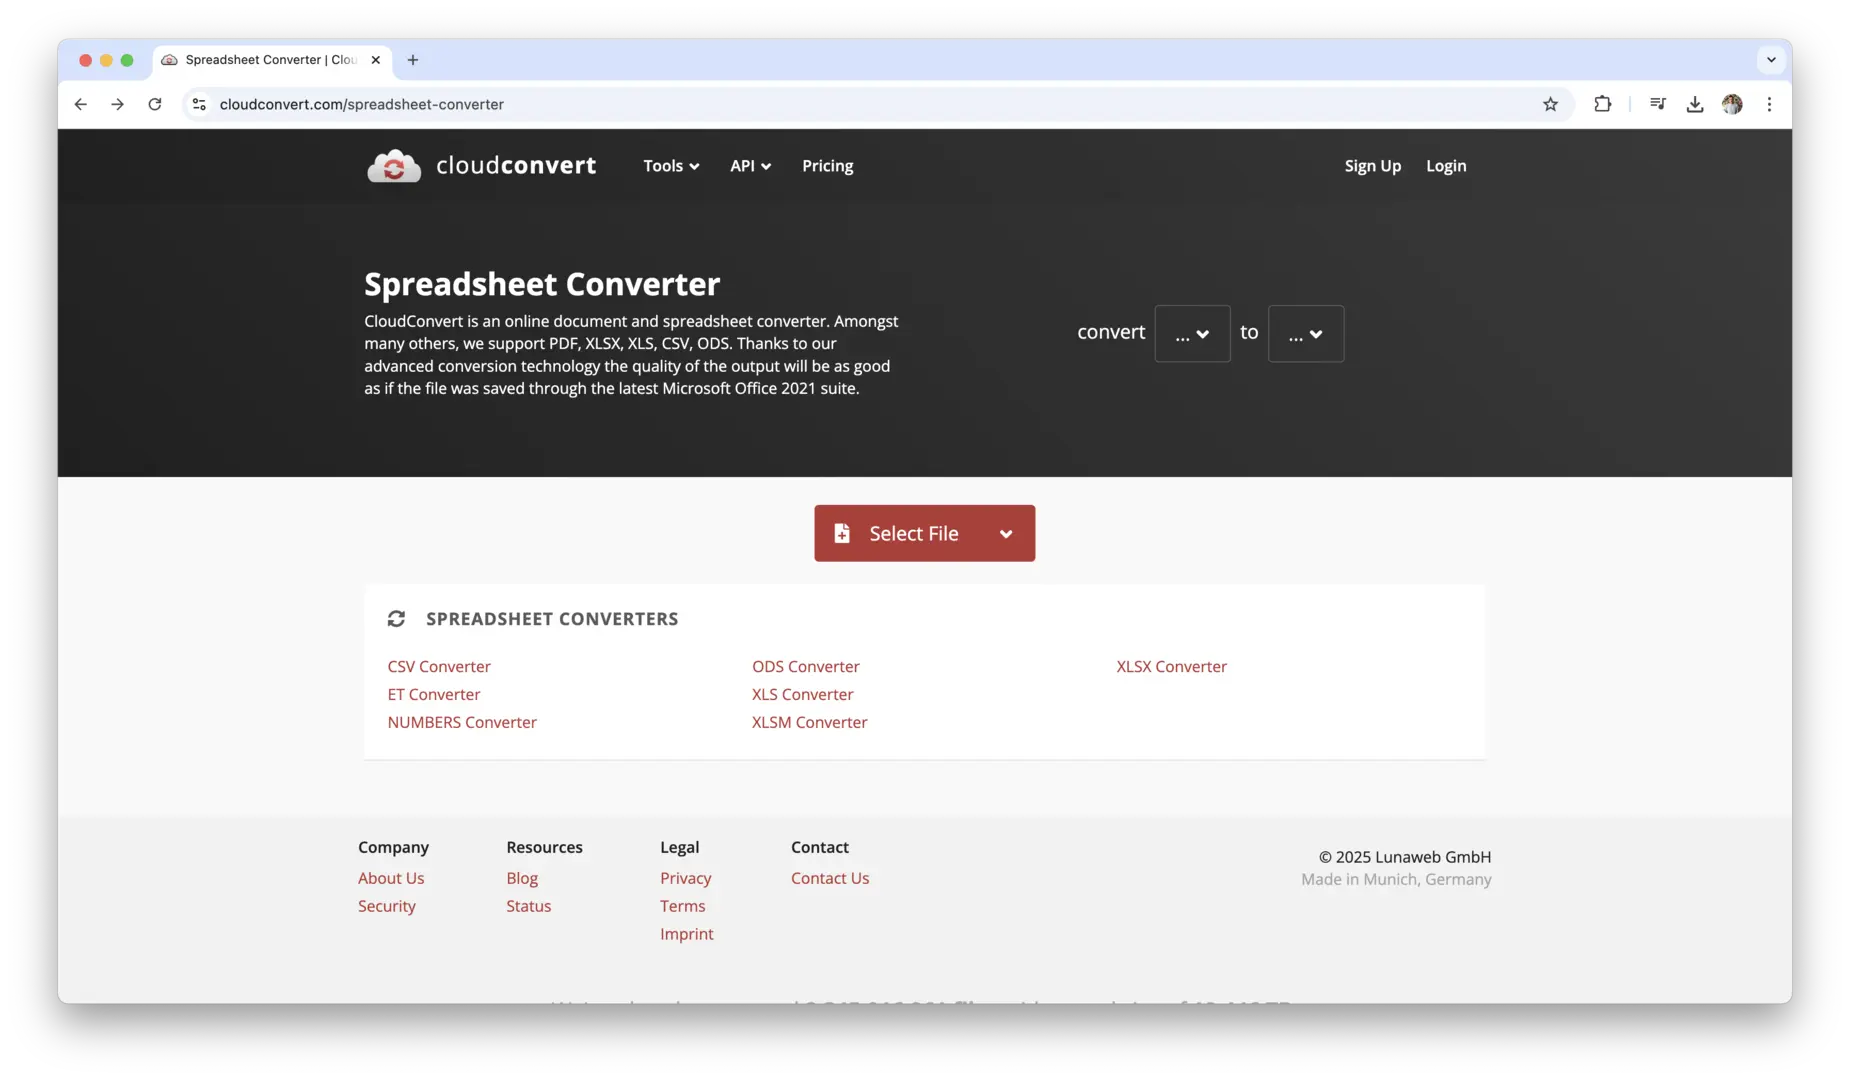
- CloudConvert: CloudConvert is a popular third-party tool that supports batch conversion of Excel files to Google Sheets. It allows you to upload multiple files at once and convert them into Google Sheets format in a few simple steps. CloudConvert offers both free and paid plans depending on how many files you need to convert.
- Zamzar: Similar to CloudConvert, Zamzar is another online file conversion tool that can handle bulk conversions. It supports a variety of file types and can be used to convert Excel files to Google Sheets. While it’s easy to use, keep in mind that some features may require a paid plan.
- Add-ons for Google Sheets: Google Sheets also has several add-ons that can streamline the conversion process. Add-ons like “AutoCrat“ and “Sheetgo“ can help automate the import of multiple files from Google Drive into Google Sheets, saving you time and effort.
For those with larger volumes of Excel files, using third-party tools or add-ons is a great way to speed up the process without the need for manual intervention. These tools can help you avoid repetitive tasks and ensure a faster, more efficient workflow.
How to Handle Common Google Sheets Formatting Issues?
When converting Excel files to Google Sheets, some formatting issues can arise, especially when the Excel file uses advanced features or custom formatting. Here’s a list of common formatting challenges and tips to resolve them:
- Mismatched Cell Formatting: Some custom number formats, fonts, or colors may not carry over smoothly. Double-check date formats, currency symbols, and conditional formatting after conversion.
- Merged Cells: Google Sheets may not handle merged cells exactly like Excel, which can cause your data to look misaligned. You may need to manually adjust merged cells or split them.
- Charts and Graphs: Complex Excel charts may not be fully compatible with Google Sheets. You might need to recreate certain charts, especially those with advanced formatting or specific chart types.
- Text Wrapping and Column Widths: Text wrapping might not transfer correctly, leaving text cut off in cells. Adjust column widths and enable text wrapping to ensure all content is visible.
- Conditional Formatting: While Google Sheets supports conditional formatting, it may not always translate exactly from Excel. Check that all rules are applied correctly and adjust them as needed.
- Formulas and Functions: Some Excel-specific formulas may not function in Google Sheets, requiring you to rewrite or adjust formulas for full compatibility.
Best Practices for Maintaining Data Integrity After Conversion
Once your Excel file has been converted to Google Sheets, it’s essential to take steps to ensure the data remains intact and functional. Here are best practices to follow for maintaining data integrity:
- Verify Data Accuracy: Carefully review all data fields, especially numbers, dates, and large data sets, to ensure everything transferred correctly.
- Test Formulas: Check that all formulas are working as expected. Even small differences in syntax between Excel and Google Sheets can lead to errors or unexpected results.
- Use Named Ranges: If your file relies on named ranges in formulas, be sure to recheck them in Google Sheets. Named ranges may need to be recreated or adjusted.
- Cross-check Links and References: Internal and external links might break during the conversion. Manually review and fix any links that don’t work as expected.
- Check for Missing Data: Ensure no rows, columns, or sheets were left behind during the conversion process, particularly if your Excel file was large or contained multiple sheets.
- Reapply Data Validation Rules: If your Excel file used data validation (e.g., dropdown lists or restricted input), double-check that these rules have carried over correctly. Google Sheets has its own set of data validation tools that may need to be reapplied.
Troubleshooting Common Google Sheets Conversion Problems
Even though the conversion process from Excel to Google Sheets is generally smooth, there can be some hiccups along the way. Here’s how to troubleshoot common conversion problems:
- Formula Errors: If formulas are producing errors, check for unsupported Excel functions, incorrect references, or compatibility issues between Excel and Google Sheets.
- Formatting Issues: If your formatting looks off, particularly with merged cells or text wrapping, you may need to manually adjust the layout or reapply formatting options in Google Sheets.
- Missing or Incorrect Data: If data appears missing or incorrect, review the import settings and check if any filters or ranges were incorrectly set during the import process.
- Chart or Graph Errors: If charts or graphs didn’t transfer correctly, consider recreating them in Google Sheets using the built-in chart editor to achieve the same visual results.
- Broken Links: Links to external files or websites might break after conversion. Manually check and update any links that have become inactive or incorrect.
- Data Loss During Import: In cases where data appears to be missing or incomplete, try re-importing the Excel file and ensure you select the correct settings for sheet placement and data insertion.
Conclusion
Converting your Excel files to Google Sheets is a quick and easy way to unlock the full potential of cloud-based collaboration. Once your data is in Google Sheets, you can enjoy the benefits of real-time updates, seamless sharing, and access from any device, all while saving on software costs. By following the steps outlined in this guide, you can be sure your file will be successfully converted and formatted without any major issues. Whether you’re working with a simple spreadsheet or a complex document, Google Sheets makes it easy to get things done.
Even with the conversion process being straightforward, it’s always a good idea to double-check for any potential formatting or formula issues that may arise. If you run into problems, the troubleshooting tips and best practices in this guide will help you resolve them quickly. Once your file is properly converted, you’re ready to collaborate, analyze, and work more efficiently. By following the simple steps here, you’ll be well on your way to making the most out of Google Sheets, with all your Excel data intact and ready to use.
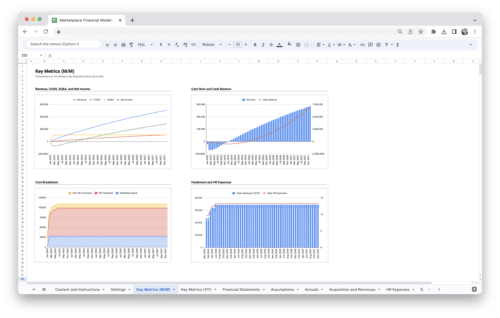
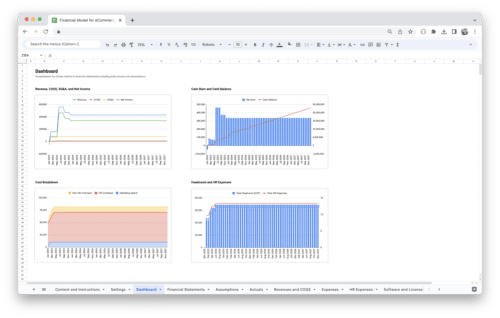
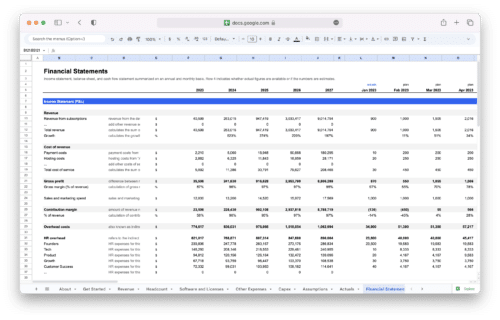
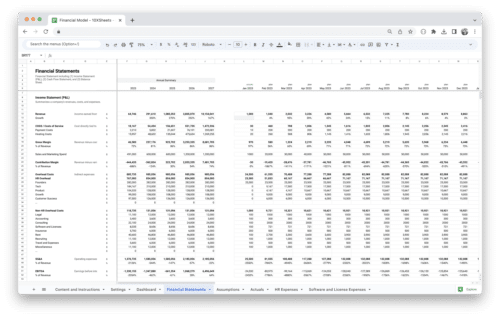
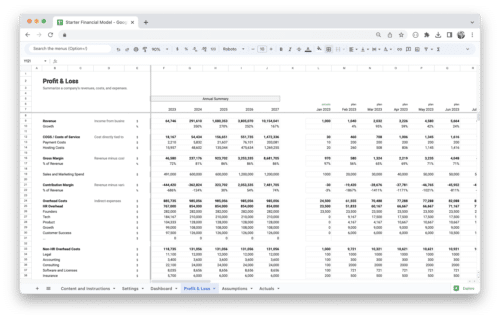
Get Started With a Prebuilt Template!
Looking to streamline your business financial modeling process with a prebuilt customizable template? Say goodbye to the hassle of building a financial model from scratch and get started right away with one of our premium templates.
- Save time with no need to create a financial model from scratch.
- Reduce errors with prebuilt formulas and calculations.
- Customize to your needs by adding/deleting sections and adjusting formulas.
- Automatically calculate key metrics for valuable insights.
- Make informed decisions about your strategy and goals with a clear picture of your business performance and financial health.
-
Sale!

Marketplace Financial Model Template
Original price was: $219.00.$149.00Current price is: $149.00. Add to Cart -
Sale!
E-Commerce Financial Model Template
Original price was: $219.00.$149.00Current price is: $149.00. Add to Cart -
Sale!

SaaS Financial Model Template
Original price was: $219.00.$149.00Current price is: $149.00. Add to Cart -
Sale!
Standard Financial Model Template
Original price was: $219.00.$149.00Current price is: $149.00. Add to Cart -
Sale!
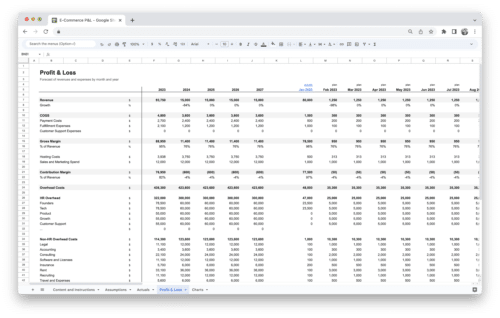
E-Commerce Profit and Loss Statement
Original price was: $119.00.$79.00Current price is: $79.00. Add to Cart -
Sale!
SaaS Profit and Loss Statement
Original price was: $119.00.$79.00Current price is: $79.00. Add to Cart -
Sale!
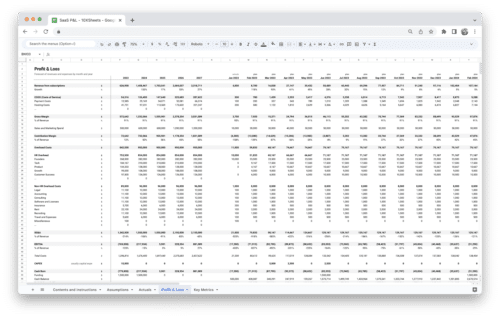
Marketplace Profit and Loss Statement
Original price was: $119.00.$79.00Current price is: $79.00. Add to Cart -
Sale!
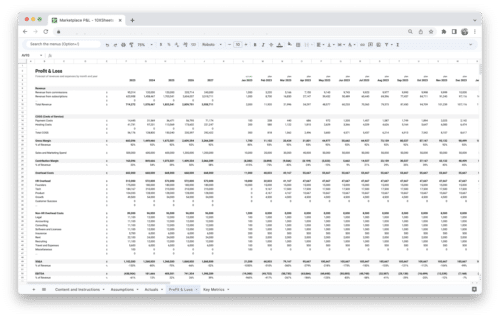
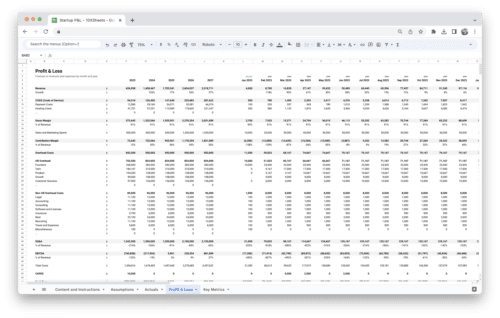
Startup Profit and Loss Statement
Original price was: $119.00.$79.00Current price is: $79.00. Add to Cart -
Sale!
Startup Financial Model Template
Original price was: $119.00.$79.00Current price is: $79.00. Add to Cart